Lindsay sent us an email:
“I have a question for you. Can we work on a dress? I’ve been trying to drape it at home and need some help.”
We had taken the Summer off at the workroom but told her that the next time she comes up we would get her situated.
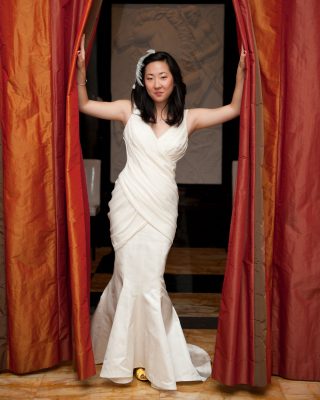
We ended up with this:

But let’s start at the beginning, shall we?
When she got to the workrooms in the Fall, she finished a jacket she had been working on and then spilled the beans about the dress she so casually asked about in the earlier email.
It turns out that she was moving to London in December and was getting married Summer 2012. This was supposed to be her wedding dress! She wanted to have it finished before she left for the UK because she wouldn’t have time to sew while away and would get back just a couple of weeks before the wedding. After thinking for a bit, we decided the only decent thing to do was push through the deadline and make it happen.
We started off (as we always do) with a muslin. The initial pictures she sent were our starting point. The pleats that she had draped were a little too tight and fussy. It would be difficult to get them to set properly and look right, so we started in on a new muslin with the same general idea.


When you begin a draping project, it is usually best to have a basic line drawing of what you are going for. If you don’t, the dress will tend to shift and morph into something else. You also need to know if the dress is actually possible in real life. Almost anything is possible if you force it with interfacing and tons of inner construction, but it isn’t always desirable. If you over-construct a garment, it becomes a real bear to construct. It also becomes something that is almost impossible to wear. This is where a lot of Charles James’ garments go wrong. They are beautiful and stand as testaments to his draping, draughting, and tailoring skills, but they are some of the most rigid and stodgy evening gowns you will ever try to sit down in (pro tip when wearing a James dress: Don’t even try to sit down.).
So we went through two or three revisions in muslin on a Uniquely you form that we had shaped to her size and then, when we settled on a basic shape – a trumpet flare with eight panels and two chiffon drapes across the front – we went to work.


Once we had a basic sense of what the dress was going to look like, we started on the bodice and corset. For a dress this fitted to be comfortable, it has to fit perfectly.


We used a coiled wire boning in the corset. You have to be careful with the coiled spring boning, as it tends to bounce when you cut it. Once it is cut and the ends are capped, it is placed throughout the corset for stability and support.


Once we had the corset fitted properly, we began working on the skirt section and the inner construction. Everything had to be basted together to test it as we went. This is one of the downsides of draping things outright.


Once everything was altered and fitted using the corset as a base, we began developing and altering the final pattern pieces. You may find that you have to alter and re-draught the pieces up to four times before you get them right. It behooves you to indicate through color and date which marks relate to which alteration. You want to keep track of your alterations so you don’t duplicate something that doesn’t fit properly.

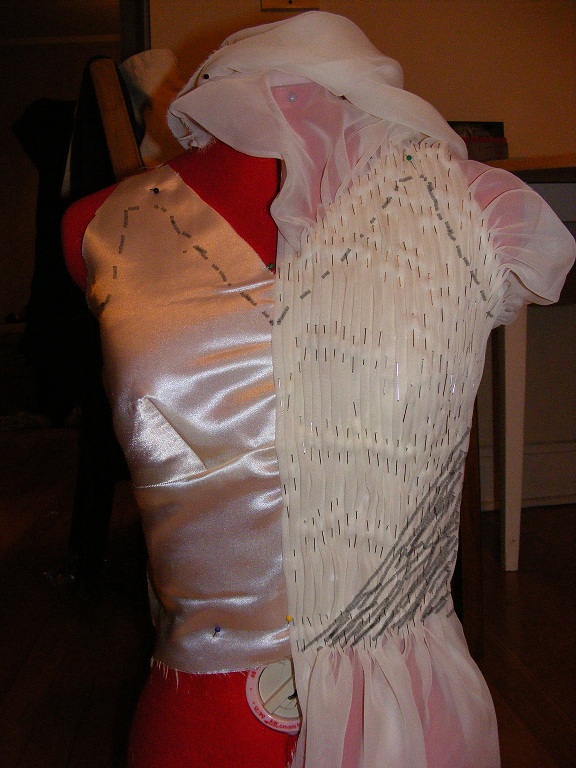
Once we had the corset and skirt draped and fitting properly, we began on the silk sheer overlay. This could have been cut in multiple pieces and faked as a drape, we decided to take the extra effort to drape it as two separate pieces with no seams. It is a much more organic look.


The yellow sheer was on sale, but also allowed us to really see what we were doing. We did have to answer a lot of questions about the color choice for a wedding dress. As the piece stood at the workroom, a sign was soon pinned to it that read: “No, it won’t be mustard. This is a muslin.”
The final shape of the drape went through four revisions:


And then some more basting:
 Joins between lining, corset, and drape:
 The skirt was already worked out in shape and the pattern finalized, so we cut it last. It was also the most expensive of the fabrics; cutting it last allowed us to maintain a nearly surgical immediate environment.
Lindsey bought glass head pins specifically for the silk satin. It is not a forgiving fabric and, while it sew beautifully, can be scarred easily with dull or burred pins.

 The final dress in silk satin together and shaped out on the form:

We were using two dress forms for the work. One was the “working” form that was for fitting and sewing and one was the “resting” form for maintaining the shape. 
Once all of the pieces were draughted and we could work out the details, we started on the silk chiffon overlays. We decided to join the pleats into the side seams for more control. The initial drapes were too irregular and not formal enough. 

With the corset, bodice, lining, and skirt sections all finalized, we could start putting it together. If you notice in the upper right, there is an image hanging in front of her to work from when setting the drapes on the bodice and through the front. It isn’t unusual when you are working on a project like this for the shape to morph slightly as you go. If you have time to play, this isn’t really a bad thing. If you are pinched for time, you will want to keep a strict visual reference; it will make getting your desired result so much easier.


And more basting:
Final side seams in bodice: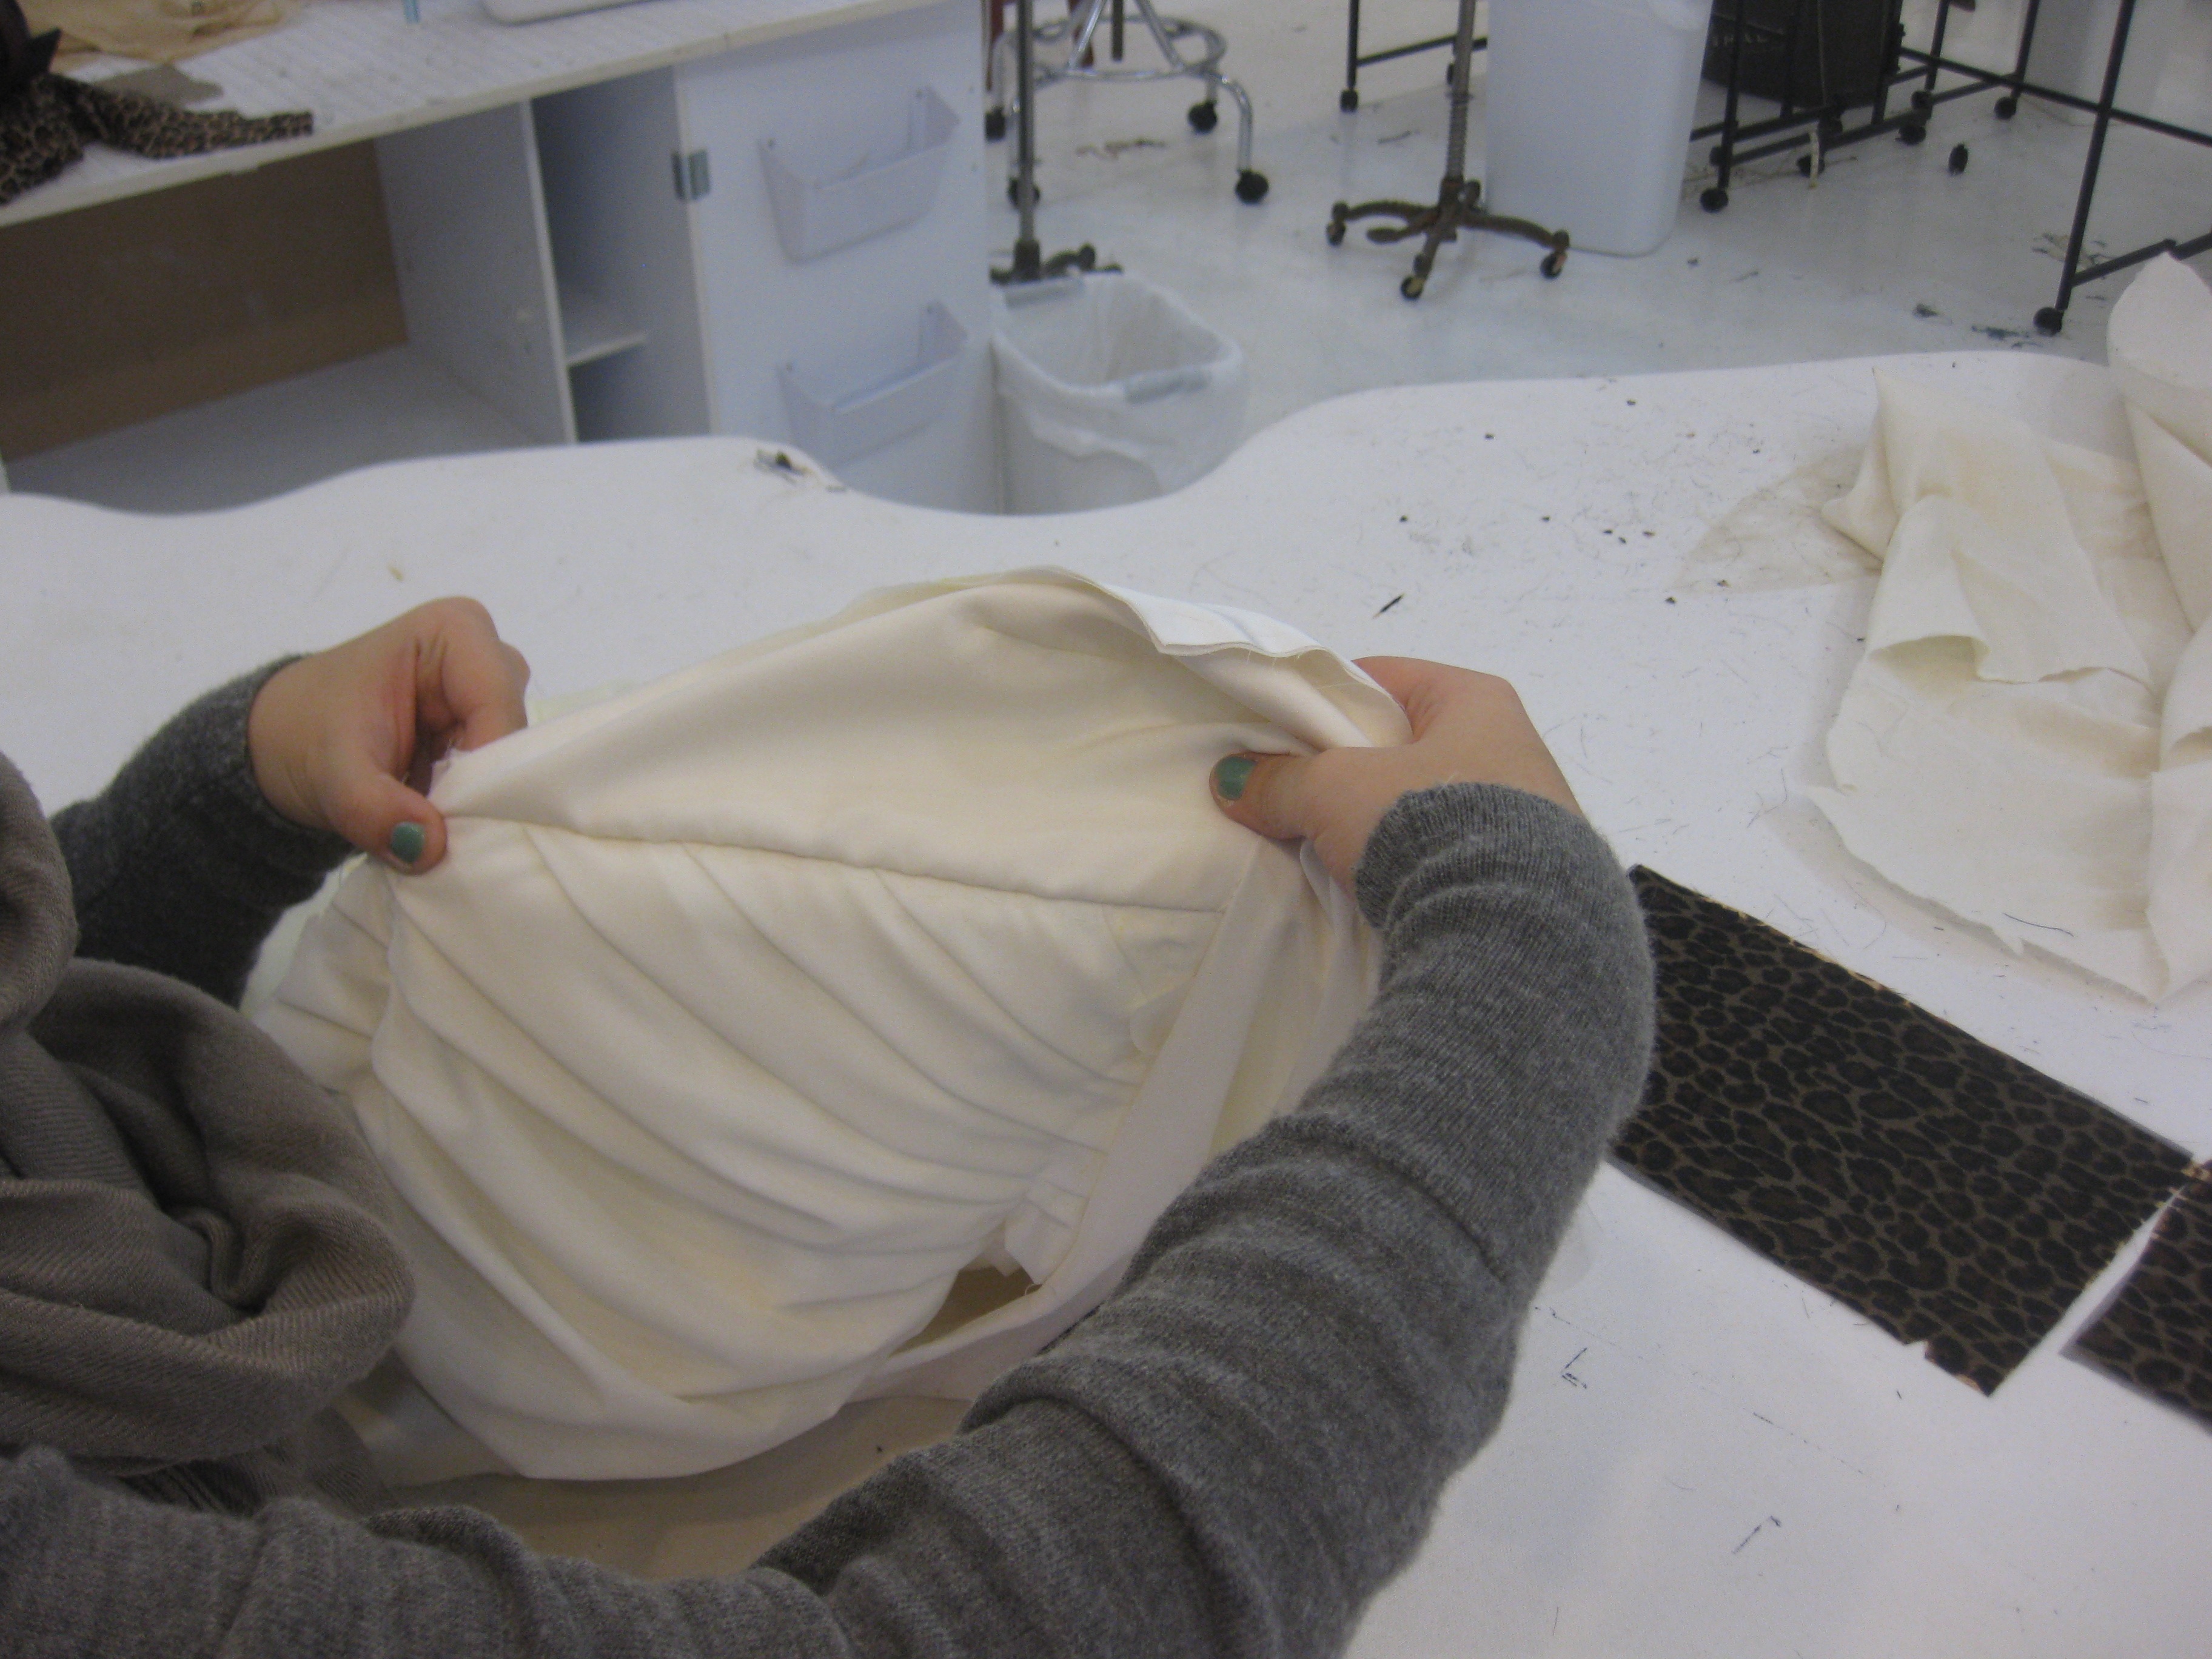

Once we had the pieces made, it was time to join them together. Because she was so thorough with the revisions, they went together in one sitting. Here are all of the pieces basted and sewn. On to the finishing details.
Zippers in silk satin are pretty much a one shot deal. Double-check placement, pin, and then baste before you sew them in. Then double-check them again.
 And more basting:
First fitting of final fabrics. Everything is in and attached; our next step is going to be to start setting the linings and coercing the overlay to fall as we want it to. It would be much more professional to have written “tease the overlay…” or “manipulate the overlay…”, but after this many late nights trust us: It is total coercion.
You’ll also notice that even though the workroom floors are white and fairly clean, from here on out there will always be a clean and contrasting drop-cloth on the floor. Satin, regardless of the fiber from which it is woven, tend to pick up the smallest amount of grease, oil, or water and spot. Silk satin even more-so.


Still a little more finesse needed at the center of the neckline:
One of the hallmarks of a well-fitting dress like this is that it stays up without straps. The bodice fits so well with the corset that it could be rendered strapless easily. The straps it has in its finished version are merely decorative. Manipulating the bustline draping.
Once our garment is together and the fit has been tested and corrected, it is time to start stitching the draped overlay in place. In this case, she used a fine running stitch, an invisible hemstitch, and a picked backstitch depending on whether the chiffon was being anchored to itself, the seam, or the main fabric of the dress.

When you make a dress like this, there are a lot of “hmmm” moments:


Once we were into the final dress, we used heavy paper to build out the dressform and give us a little resistance.


And here we go. The pleats have been basted and the dress is ready for facings and all of the handwork it is going to take to keeps the folds of the overlay in place.

In order to make the underlayer of the overlay flatter, Lindsey folded the pleats down and stitched them in place with a fine running stitch. This is ultimately more secure than cutting the fabric and creating darted or felled pleats, but only works if the fabric is thin enough not to create a bulky ridge but has just enough opacity so you can’t see the folds created in the underlayer.


Once everything was set, this was her position for hours at a time:


And… First fitting with the set overlay! There was only a slight bust point issue to work out, but the smile of relief speaks for itself:


Final test for movement and checking the flare of the skirt:

You’ll notice the pleats in the back aren’t perfectly symmetrical. This is always a design choice one has to make. Too much symmetry and you may as well buy it retail (gasp). If the symmetry is too off, though, you end up with something that looks rag-tag and amateurish. This was the symmetry she felt the most comfortable with after testing all of the variations.

All the fitting and draping is finished, time to set the hem. Lindsey used 1″ horsehair tape and silk thread with an invisible hem stitch. We would recommend only hand stitching something like this. A machine stitch is going to break the visual smoothness of the fabric if seen on the outside.

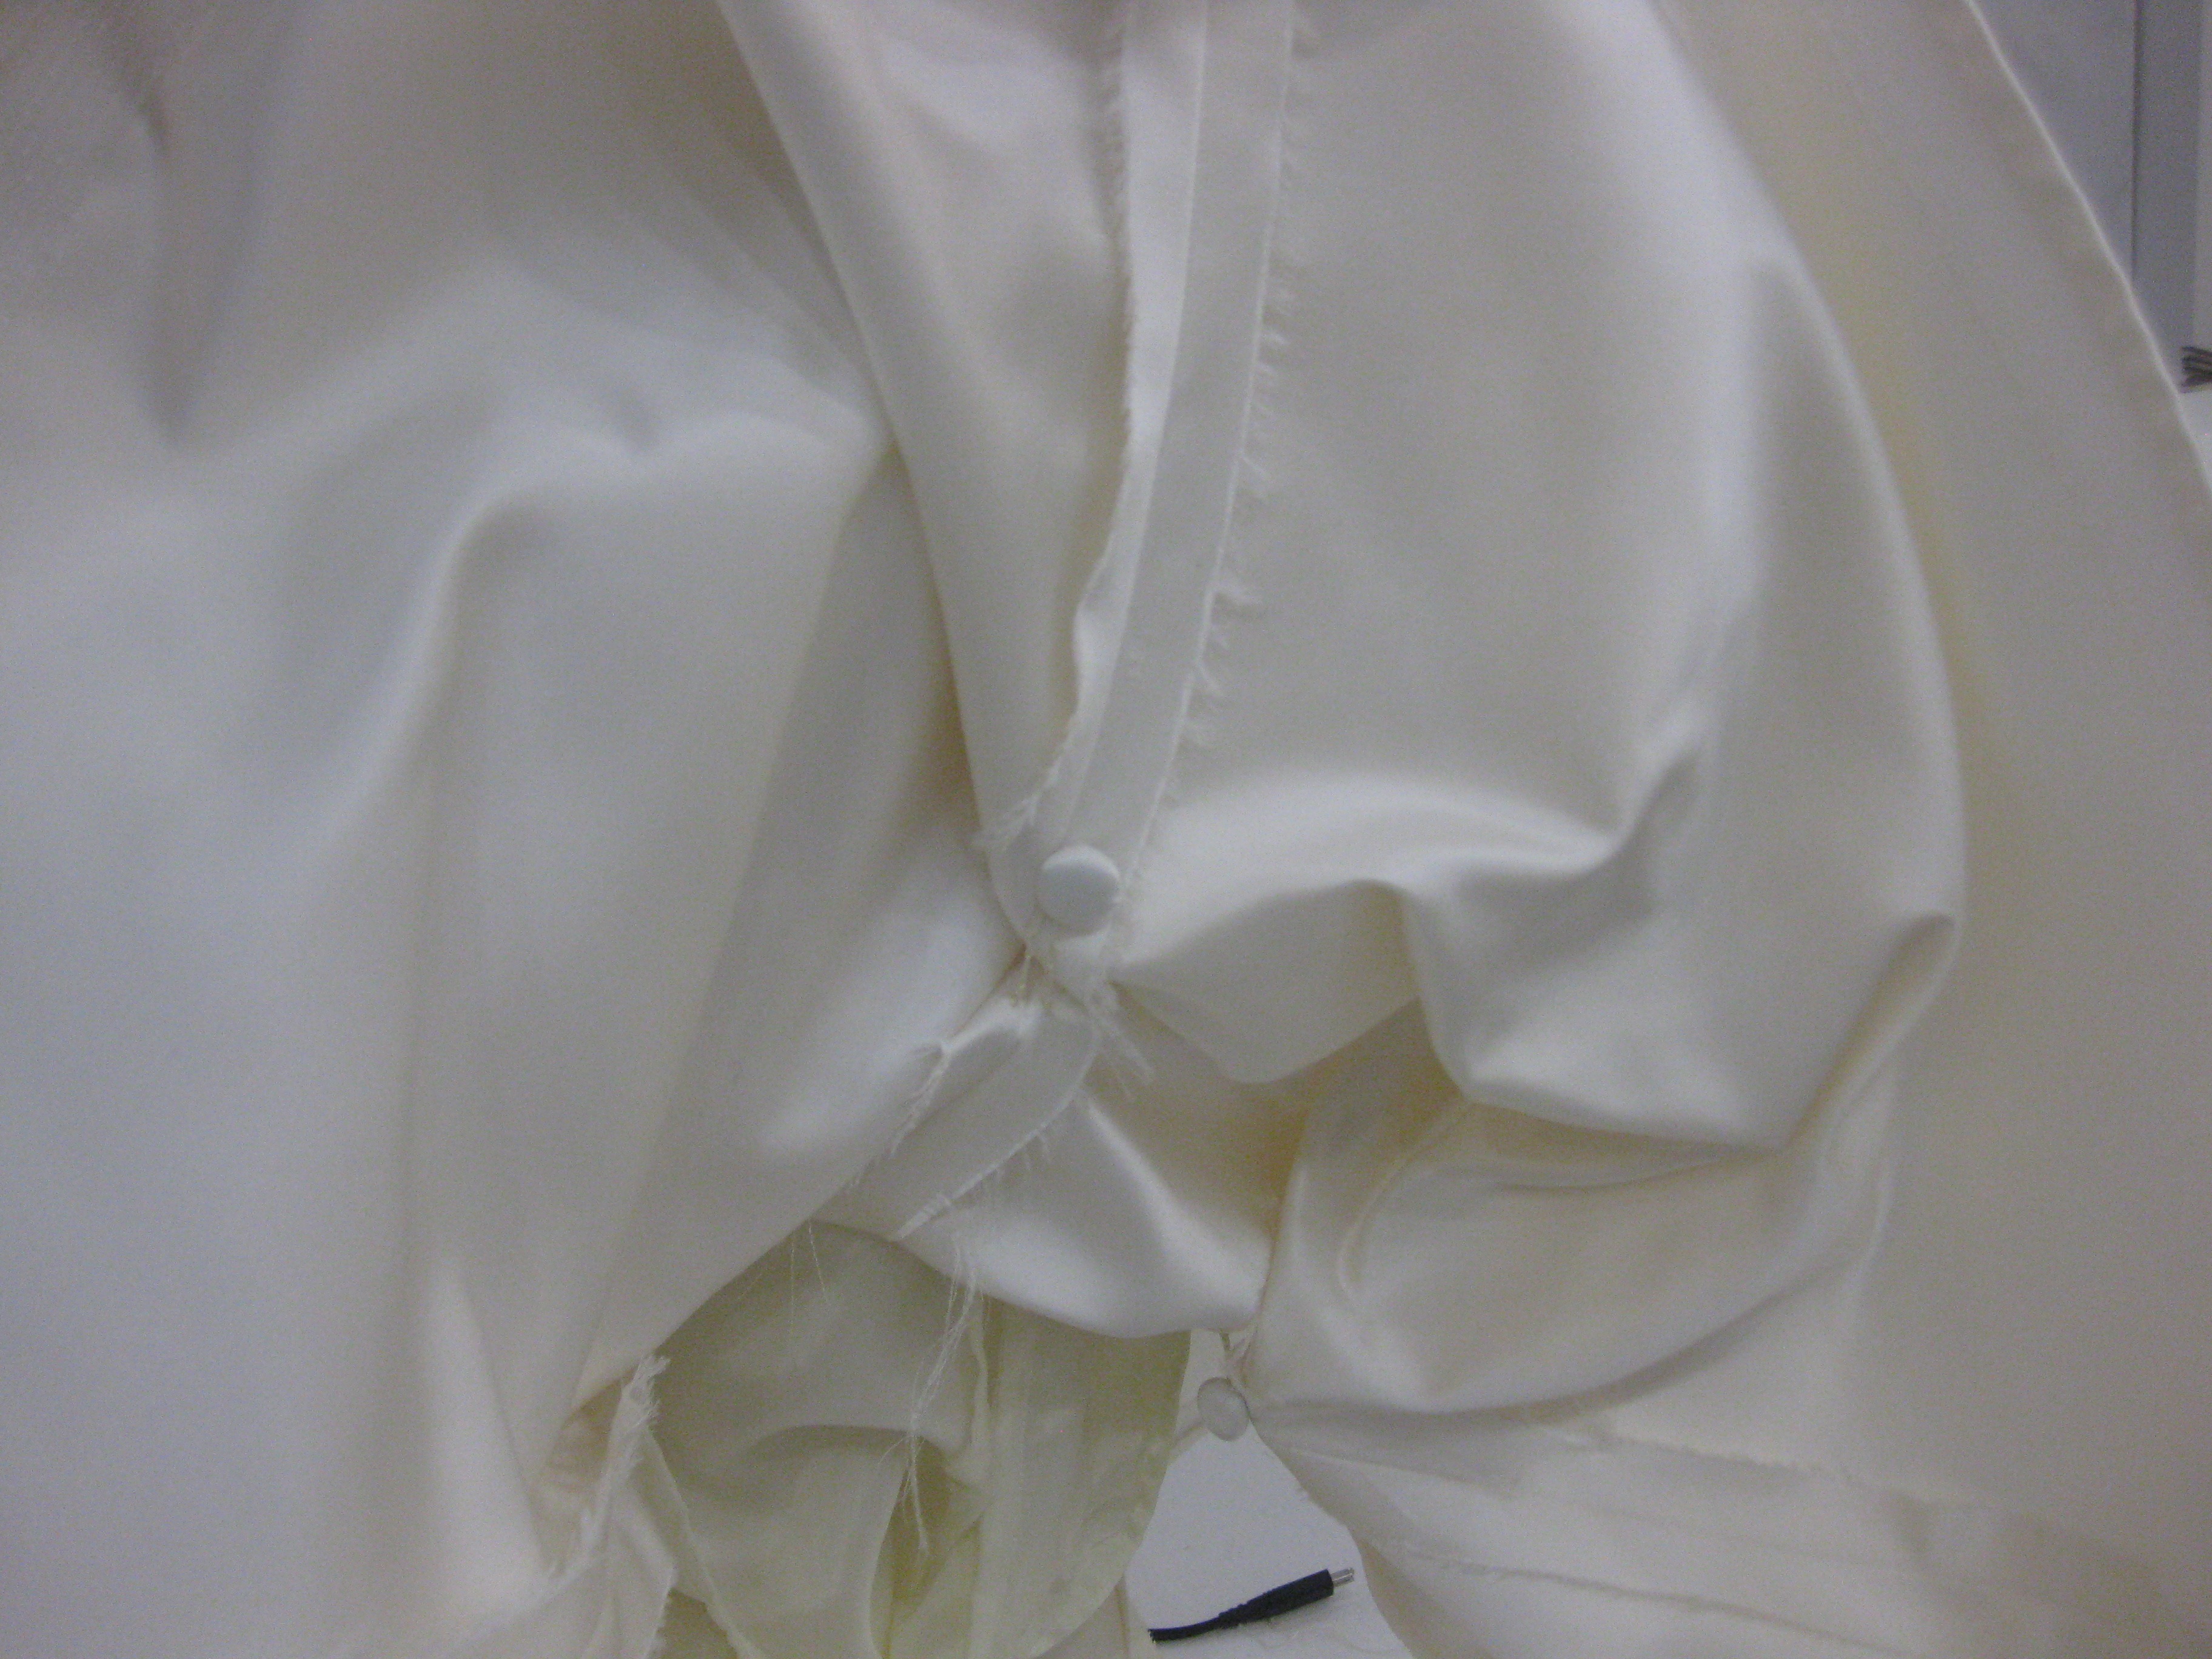
To keep the dress off the floor while getting ready and as an option when dancing, she crocheted small chainstitches and then used fabric covered buttons to hold up the hem.

This protects the hem from dragging.

You’ll notice the seams look unfinished. In reality, they are hand-overcast with silk thread. This keeps them from pressing through to the face of the fabric and stops excessive fraying.
 Detail of crochet chain:
Final fitting time!


Finishing up straps!


AND… Here we go!

