We’ve recently had a ton of students telling us that
- A. We don’t update the blog enough (and seeing as how we have 72 stored drafts in the draft folder, we’d be inclined to agree).
and
- B. They want to know how to do specific stuff and want tutorials.
So, to keep the revolutionaries in check and anarchy at bay, here is our first update in a while to walk you through turning a straight skirt pattern into a flared pattern. A little shout-out to Sophia here (Thanks Sophia!) for making the classes worthwhile for us and off we go!
We often get students who want to up their game a bit. They read about slopers, make one, and then look at it and think “OK, what do I do with it now?”
Well, you use a sloper as a core pattern to make any number of things through the addition of ease and dart intake manipulation.
Materials:
- Sharpie or pencil
- Straight edge
- Ruler or measuring tape
- Straight skirt pattern with darts that fits properly or sloper you’ve fitted
- Scissors
- Craft paper
Process:
We’ve worked this out in miniature, so the scale is a bit off if you look at the size of the tools, but you should be able to get the general idea. We are only showing one of the pieces, but for a straight skirt or sloper with darts, the process is going to be the same on both the front and back sides. There are tons of variations with this, so experiment as much as you want.
- Get your materials together in a clean and flat space. You will need either sloper or a straight skirt pattern with darts.
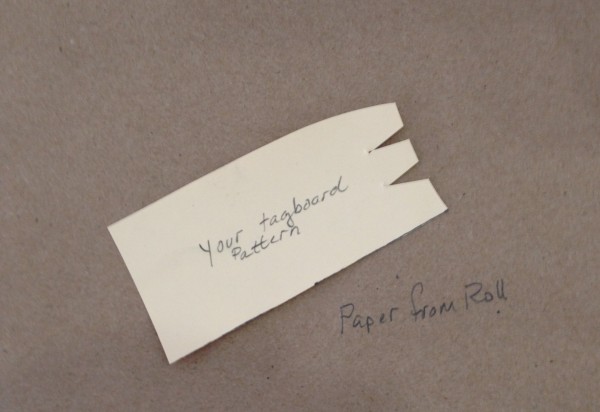
2. Trace your sloper or pattern on craft paper. You want a line-for-line copy. It should be as clean as you can make it. The cleaner you work at these initial stages, the better.
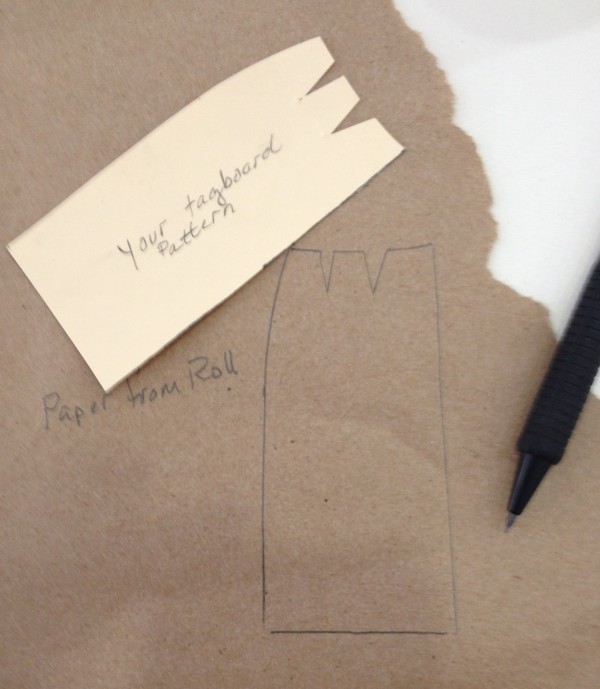
3. Once you have your traced sloper, you are going to want to draw in vertical lines from the point of the dart parallel to the center lines. This is the most basic way the first time you venture into pattern manipulation. It isn’t going to matter for this whether you trace, then cut, then draw the lines – or whether you trace, then draw the lines, then cut. Either sequence is fine. Label the three divisions because it is easy to lose track of which piece is which the first time.

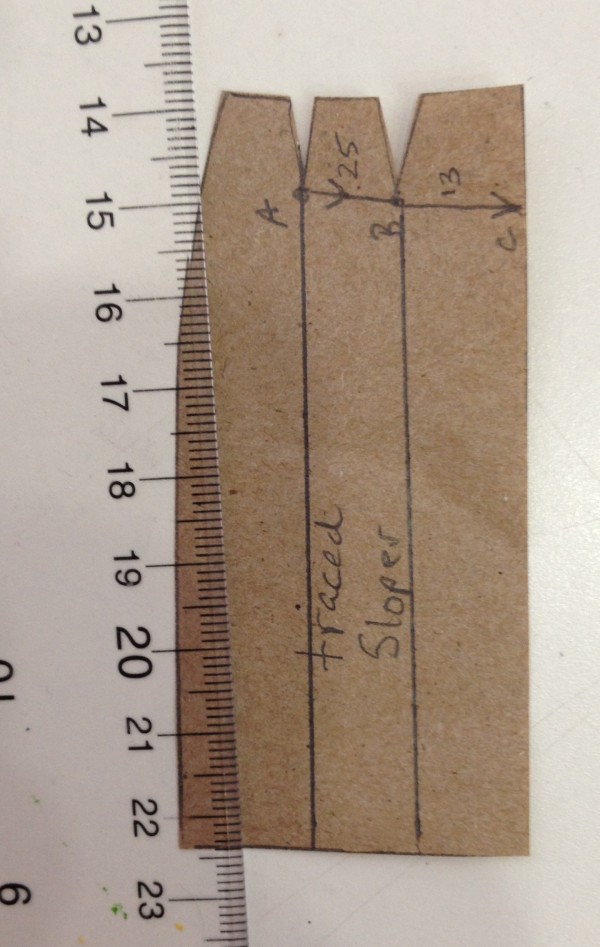
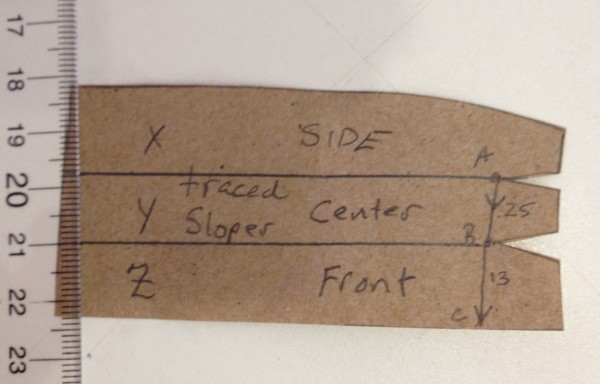
…then cut those bad boys out…
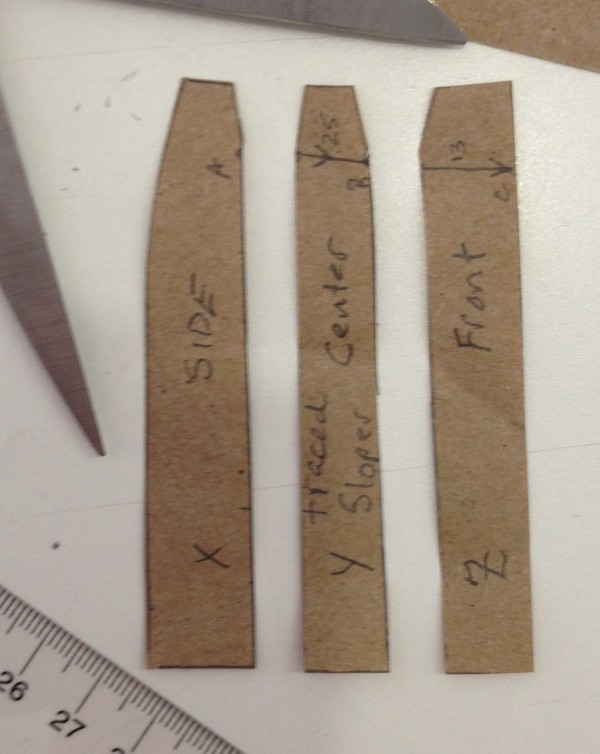
4. Now for the fun part. You will take a straightedge and draw a long vertical line on your paper with enough room to one side for the flare of the skirt. Read through these instructions and then test-place it so that you don’t have to do all kinds of sloppy taping and mating of scraps later on. It doesn’t matter that you are using a ruler to draw the line – as long as the edge is straight.
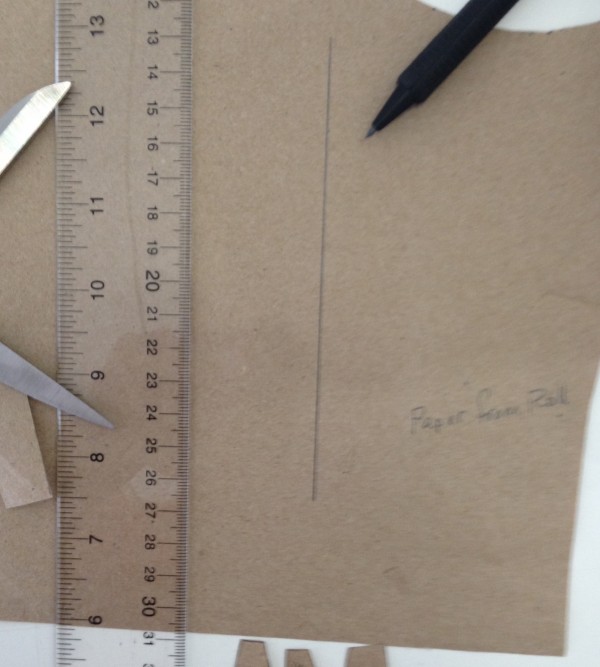
5. Once the line is drawn, line up the center fold line against the line itself. You want a clean match. Pin this in place.


6. Now with the second section, what we are here calling the center, you will place it next to the front section and pin it in place so that the dart has closed. The hem of the skirt pattern is going to flare out. Don’t worry about that. What matters most is that you keep the point of the dart lined up and pivot it closed. Pin this second piece in place.
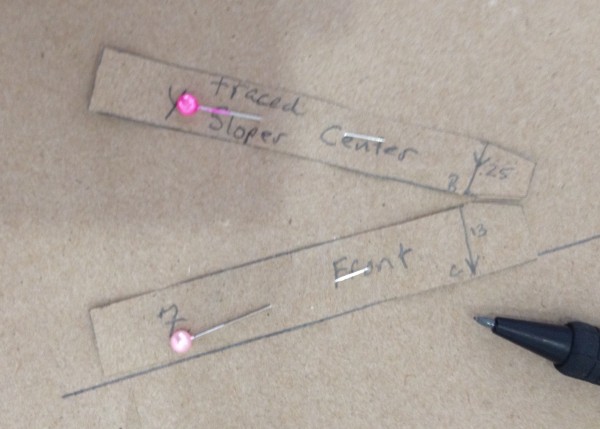
7. You’ll want to repeat the process with the last piece, what we are here calling the side. Place it in the same way as the last, making sure to keep the darts lined up, and pin.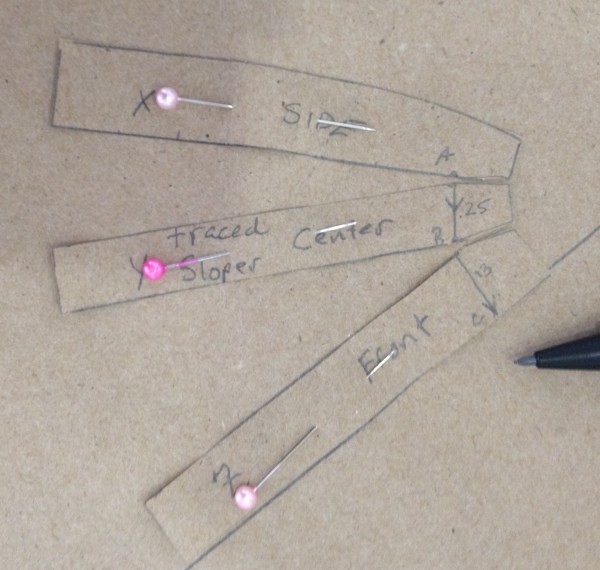
8. Now we have the darts closed and you can see the flare starting to take shape. You will now draw in the hem to connect the pieces. If you measure from the waist to the hem along the center front then take that measurement and use it as the waist-to-hem length for the whole thing, you will be fine. If you want to freehand a subtle curve between the pieces, that is ok too. 
9. Once the new hemline is established, you will want to take the curve out of the hip so that it flows better. Mark the highest point of the hip, point “M” in the picture, and then draw a straight line connecting M and the waist. The line should project out from the hip and exaggerate the flare even more like this picture. Join the hemline up to this new line the same way you did for the others and make sure everything is traced out directly. You don’t want to have to go back an re-establish reference points.
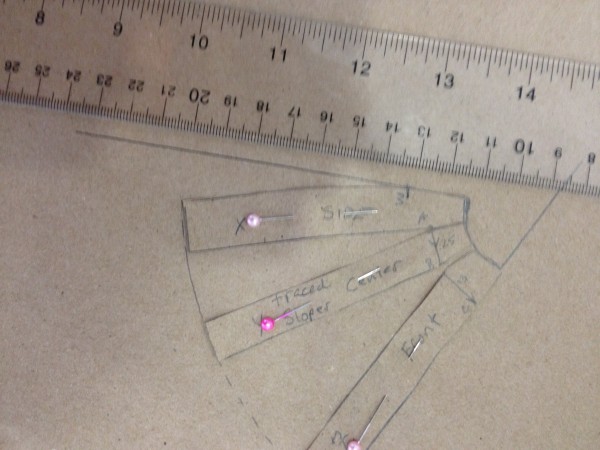
10. Almost there. Almost. Once you have the piece traced, smooth out any angles from matching the darts up at the waistline and add an inch or two extra at the hem just incase something went wrong. We’d advise against adding anything extra at the side seams or waist.
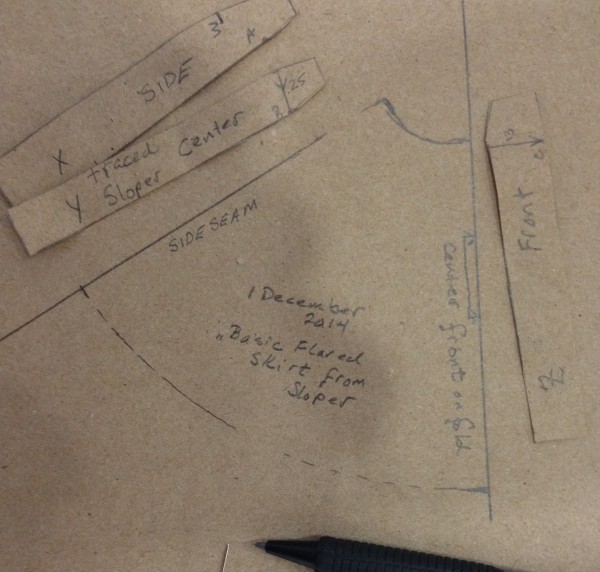
11. Cut this guy out and do the same thing for the remaining skirt panel. In this case we used the from, so we’d do the same process for the back.
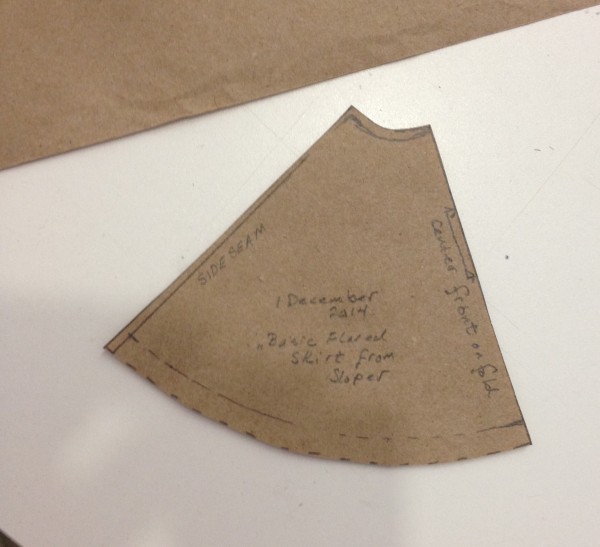
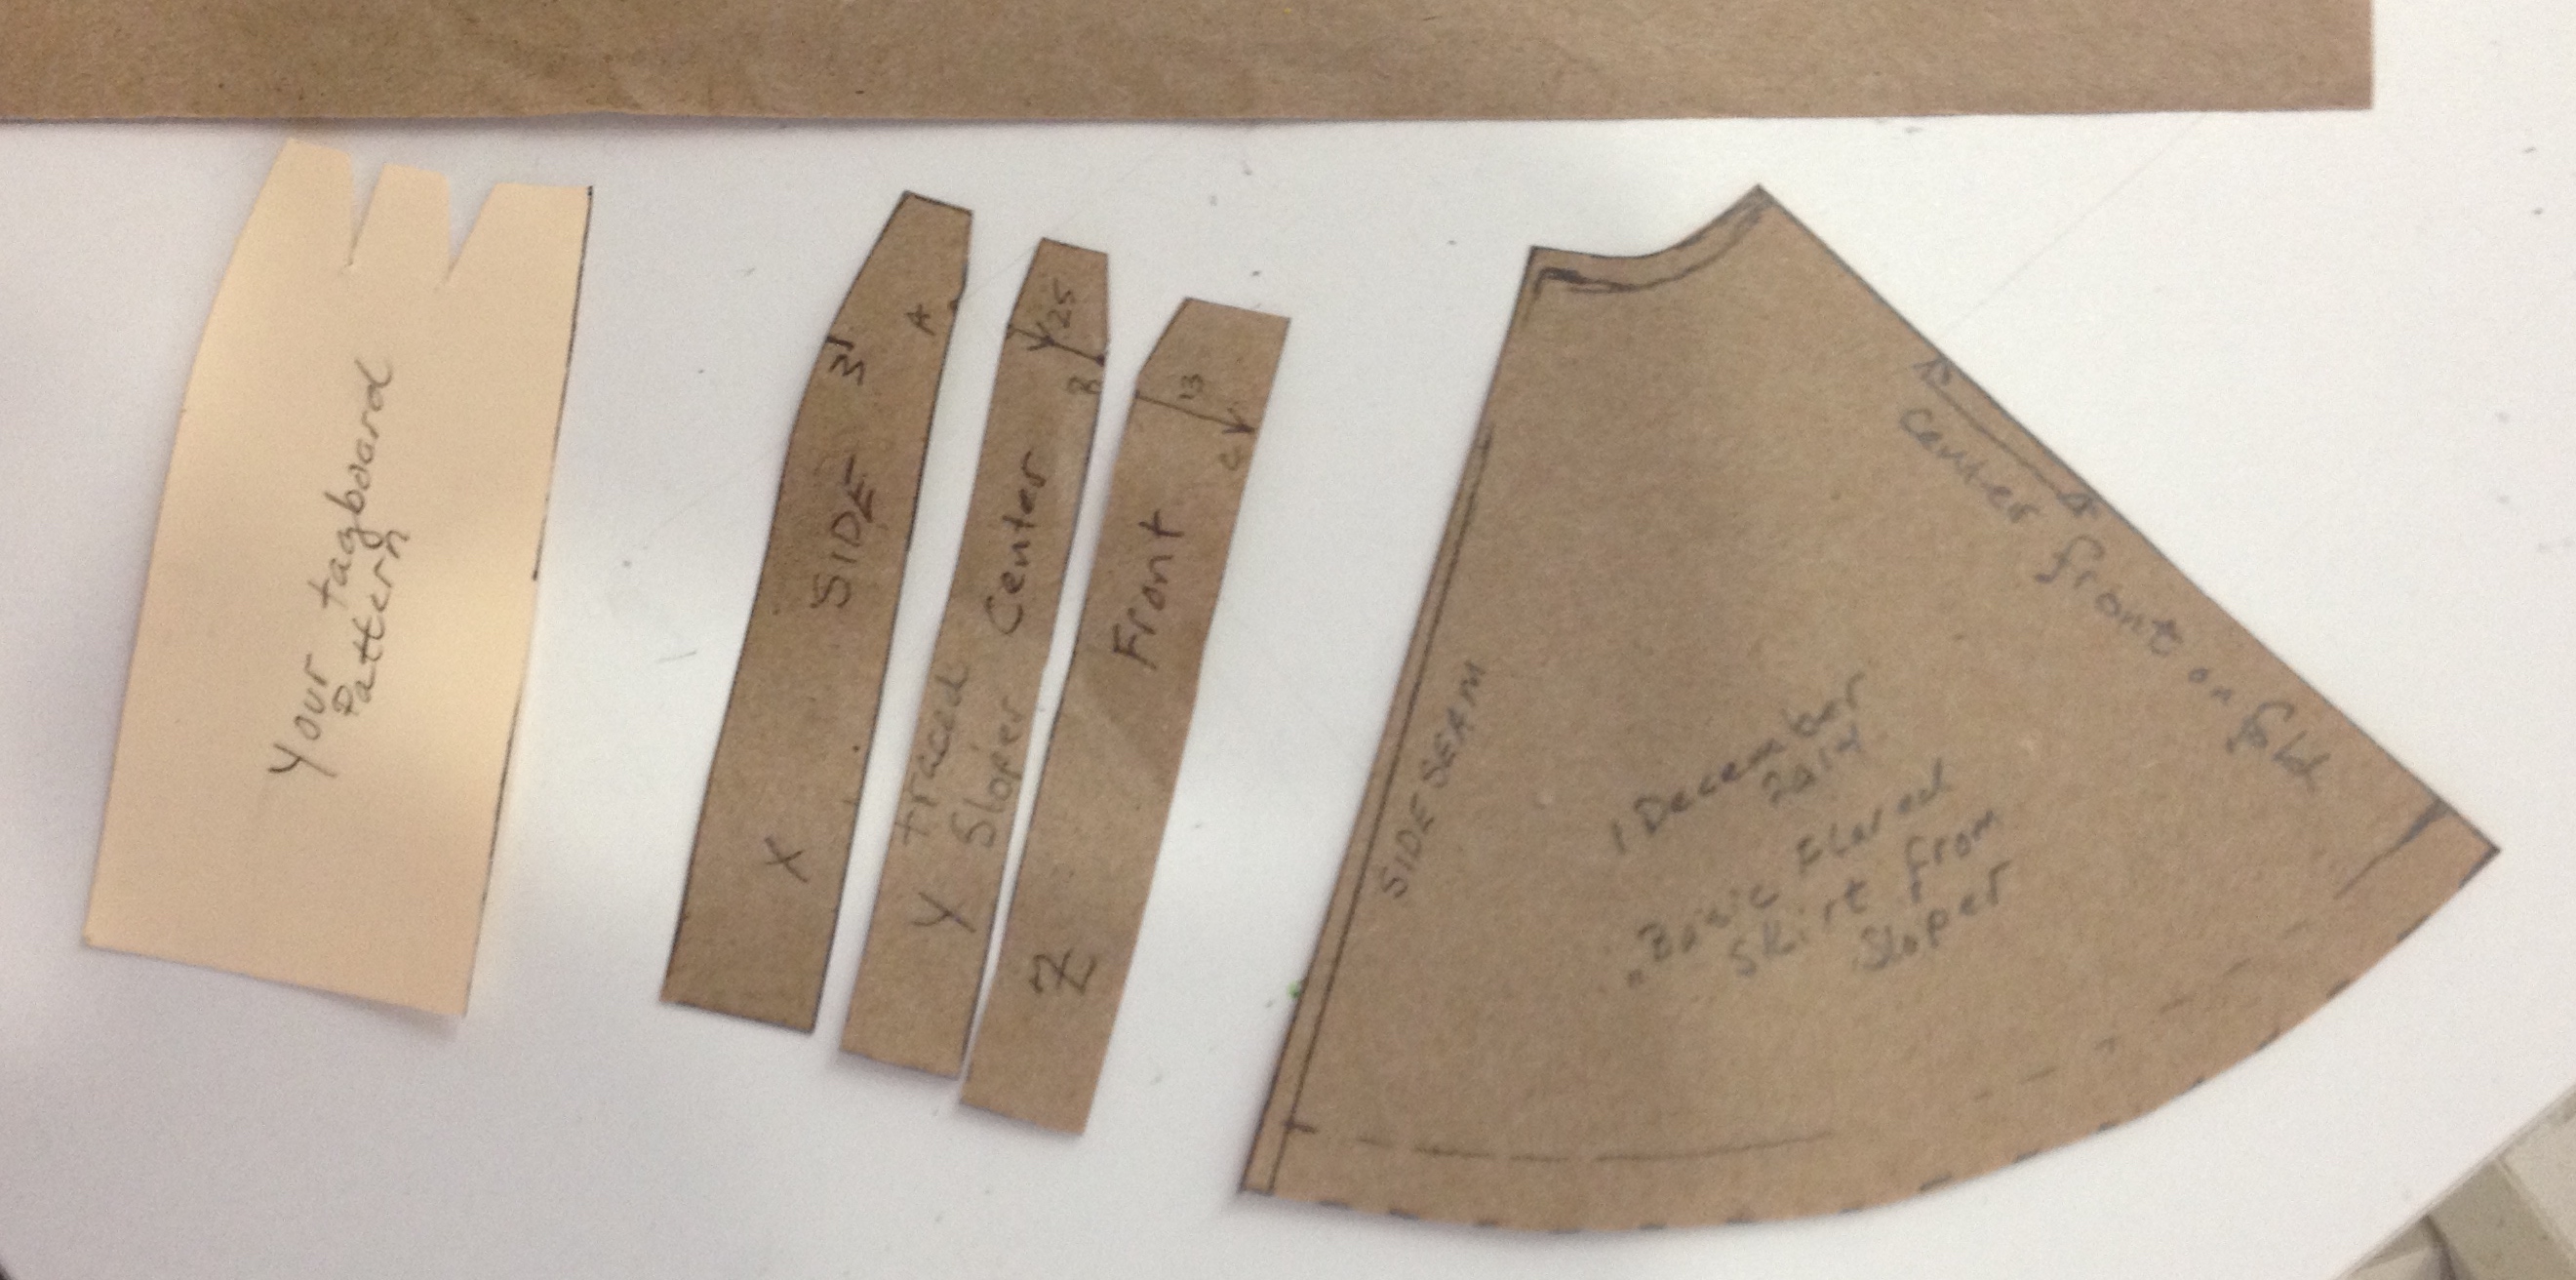
Here is what you have now. On the left you have your initial pattern sloper and on the right you have your new piece! You can hold onto the transitional pieces in the middle if you want, but they tend to hang around up here, so they go into the compost tout suite.
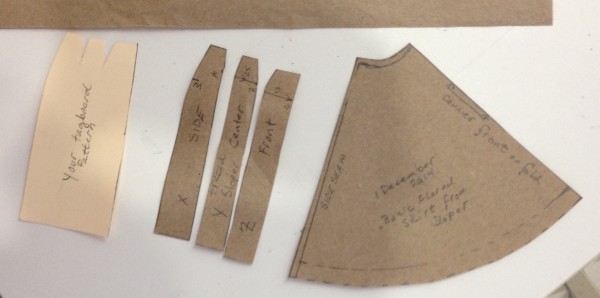
And there you have it! A very basic flared skirt from a straight skirt or sloper pattern.
If you wanted to be VERY thoughtful about the process, you could trim off the initial hem and seam allowances to add them back in before you cut the flare. This is simple enough that you needn’t, but it is the way we like to work around here.
If you are interested in these kinds of basic manipulations, let us know and we can totally put some examples together for the blog. The first few you do feel almost like some kind of Euclidian magic trick.
