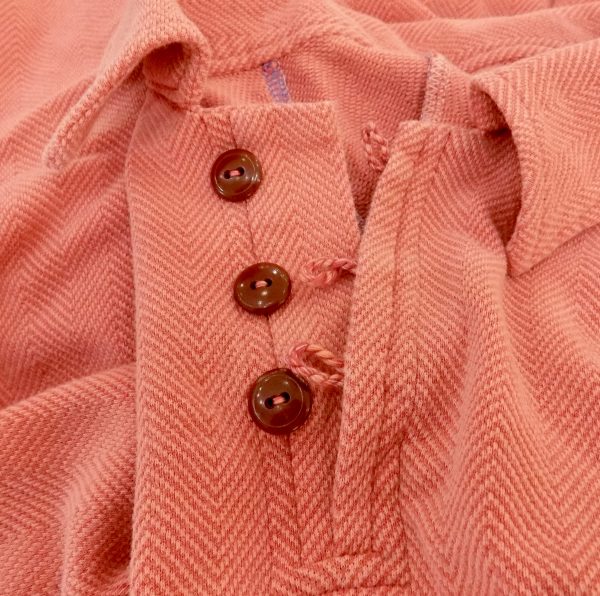
Someone recently made matching cord to use for button loops on their vintage knit and we got a question about it. Let’s go through what is going on.
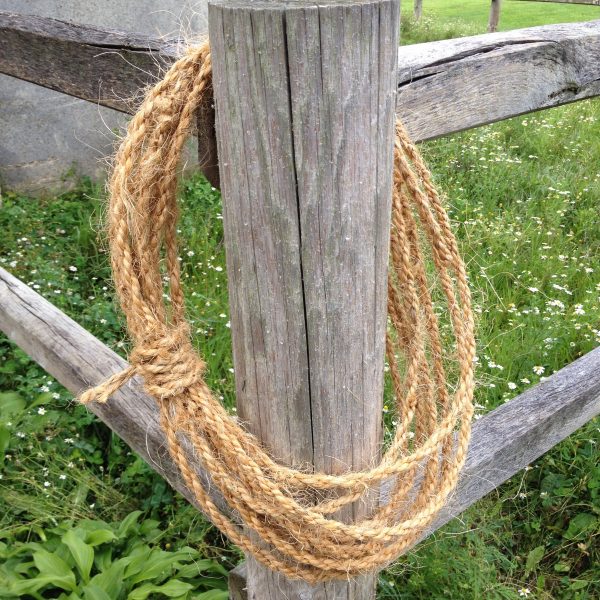
Tchad works a lot with kids on the farm. We are concerned about sustainability and reuse, so we turn all of the jute and twine into lightweight functional cord for things like lead ropes for the horses and whatever else we need. The process for rope and cord is not different one to the other.
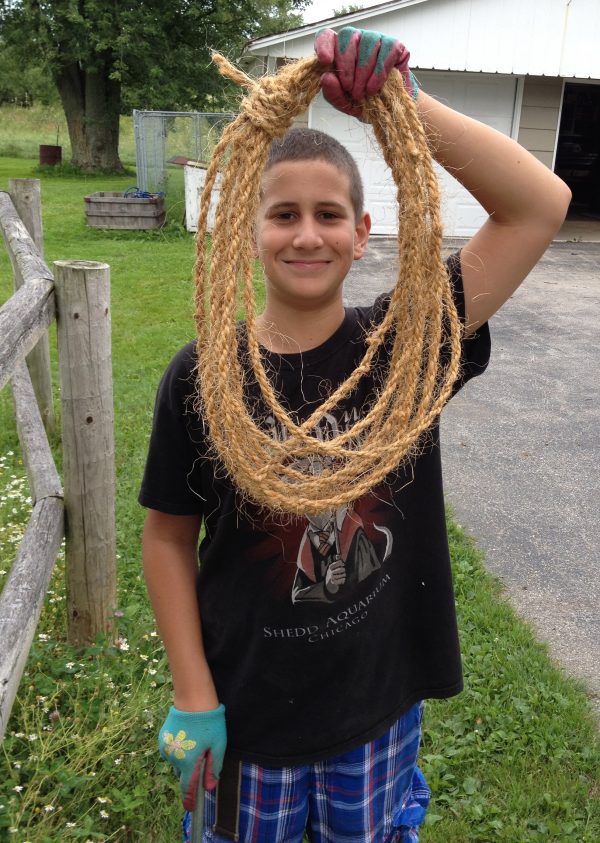
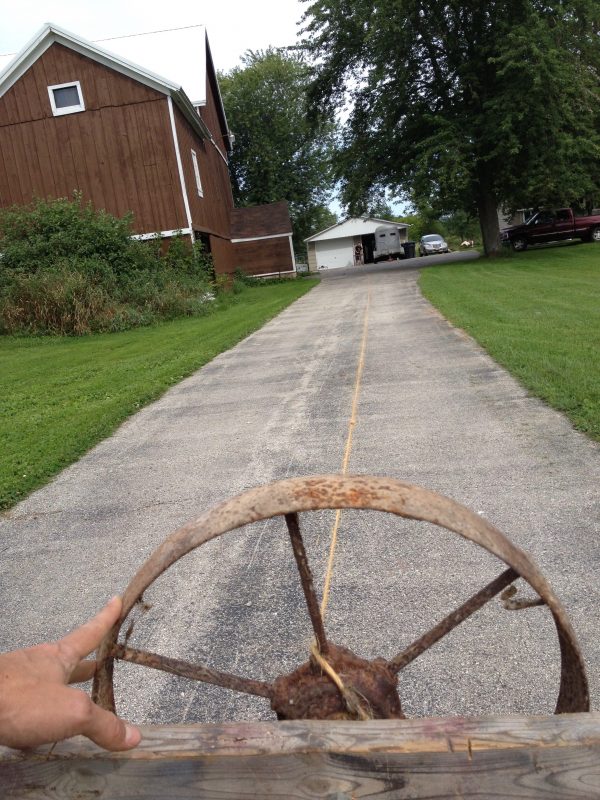
You need about 2.5 to 3 times your desired finished length. You then spin one end and keep the other static or spin both ends in opposite directions to develop the twist. On the horse farm, we used the long driveway, but you won’t need something like this. This gave us a rope a little less than half the driveway long to use.
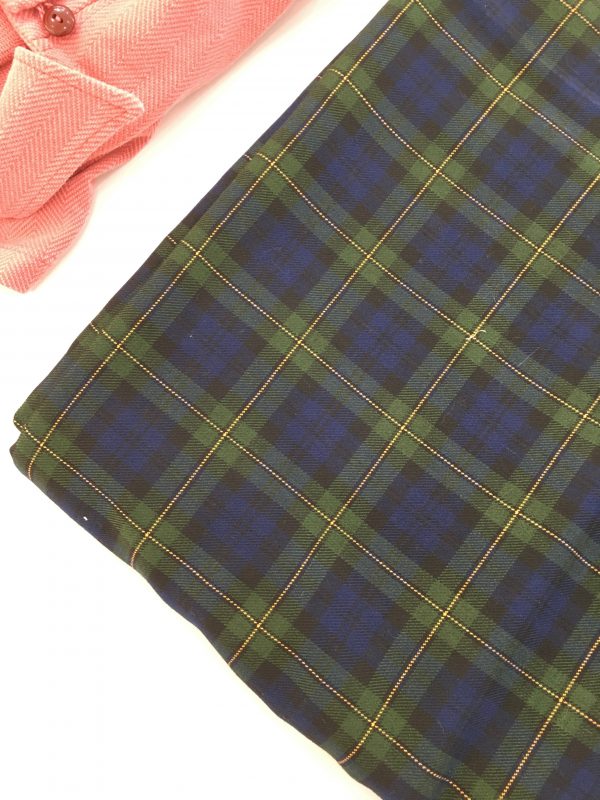
Ok, so you’re not on a farm and you don’t need rope. You need button loops or trim and you can’t find trim or cord that works – everything doesn’t match well enough or looks cheap. Let’s use this plaid wool from the late 1930’s.
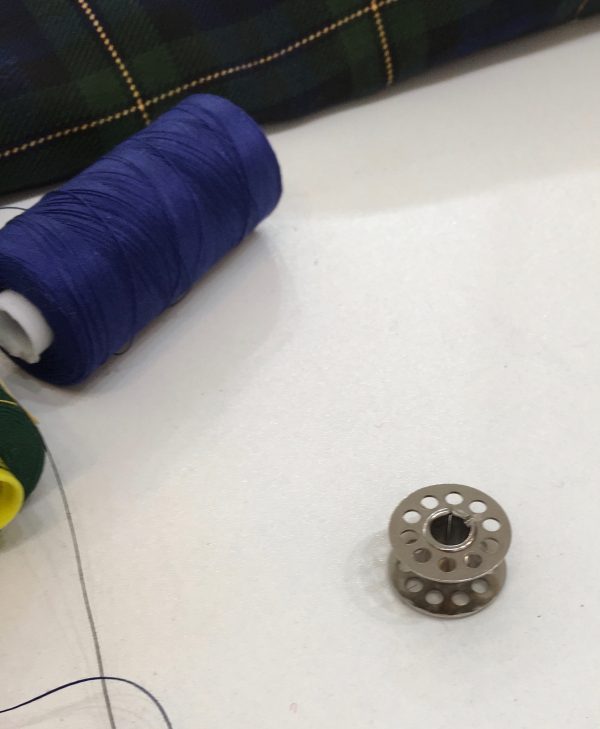
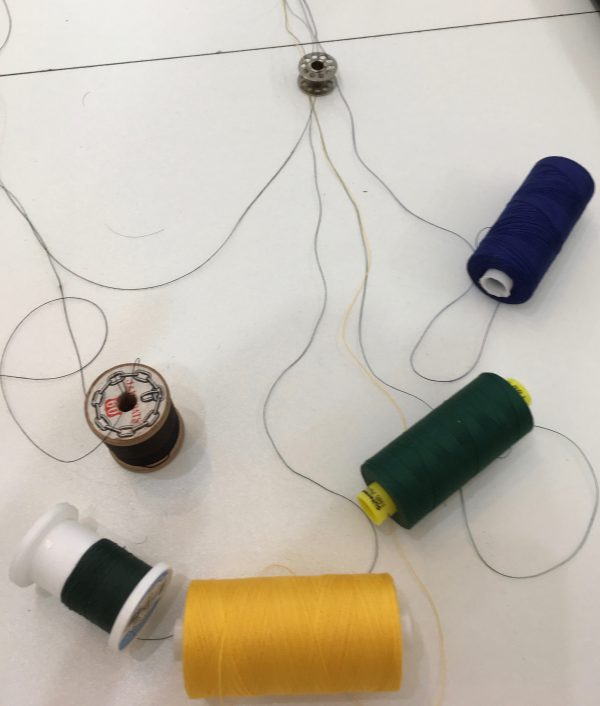
The first thing you are going to do is decide how thick you want the cord to be. The more thread, the thicker the cord. In this case, we used two greens, a yellow, a black, and a blue. In real life, we would probably stick with just the green, blue, and black leaving out the yellow, but it helps see what is going on. This is a good time to sneak in some of the trash thread that you have laying around. Sneak a thread or two in and use it for something other than a paperweight.

You will need a bobbin that has holes in at least one of the plates. If your plastic bobbin doesn’t, then you may want to sacrifice one to the cord gods and heat an awl to put them in yourself.
Decide how long you want the finished cord to be, then double that and add about another 50% for risk and waste. In this case, we wanted a 12 or 13 inch finished cord, so we set up our first run as 3 feet.

These threads get threaded through one side of the bobbin from the center.
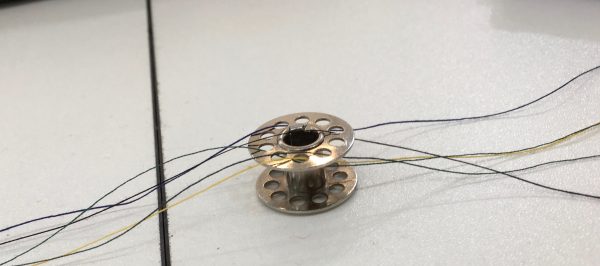
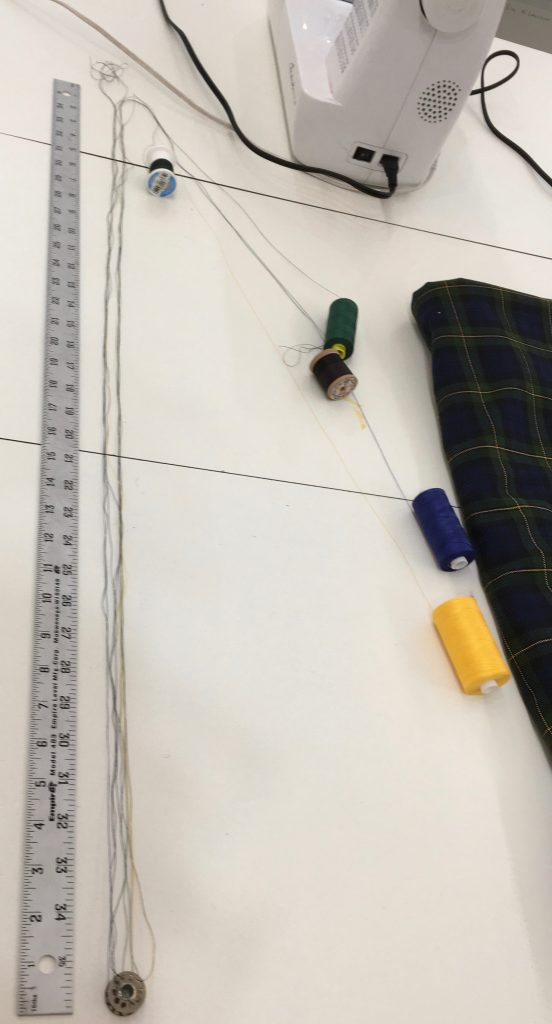
Then the threads get folded and brought to the end of the measuring stick, doubling the volume but still about 3 feet long.
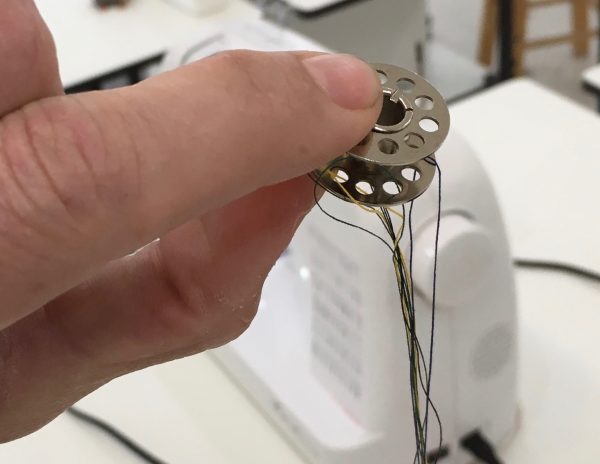
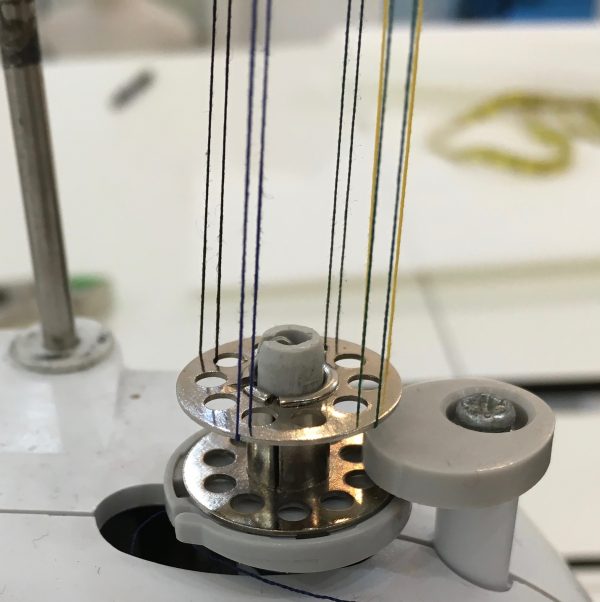
Mount the bobbin so that the thread is coming out through the top. Keep the thread straight – don’t let it tangle. You don’t want to pull so hard that it pops the bobbin off, but you can’t leave much slack.
Short video demonstration on spinning.

Spin the bobbin and run your thumb and index finger up and down the spinning cord so that you are developing a nice twist as you go. You want to kind of start near the base and work it up. You will eventually get used to the way the threads work themselves into a spiral.
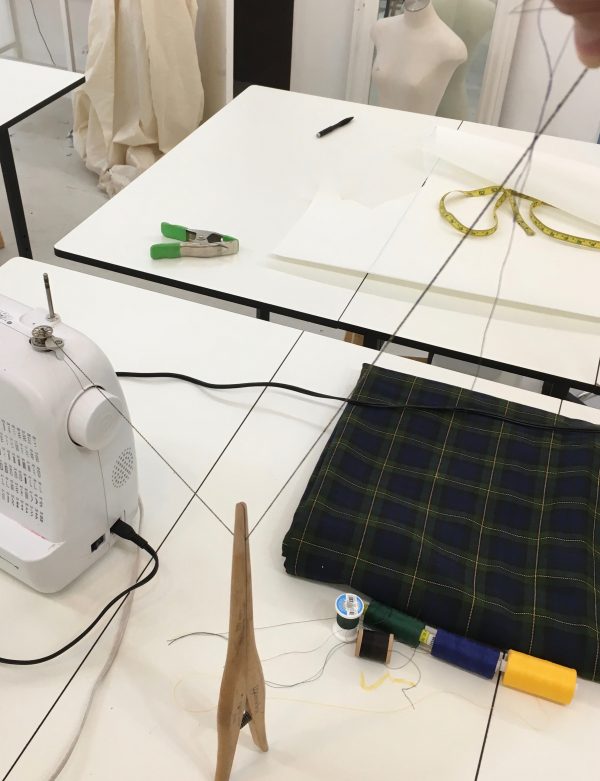
We are using a glove stretcher here, but you can use your free hand or a clothes pin or utility clip to find and define the center once you have finished spinning. You have to keep the sections on each side of the center under tension so that they don’t relax and kink.
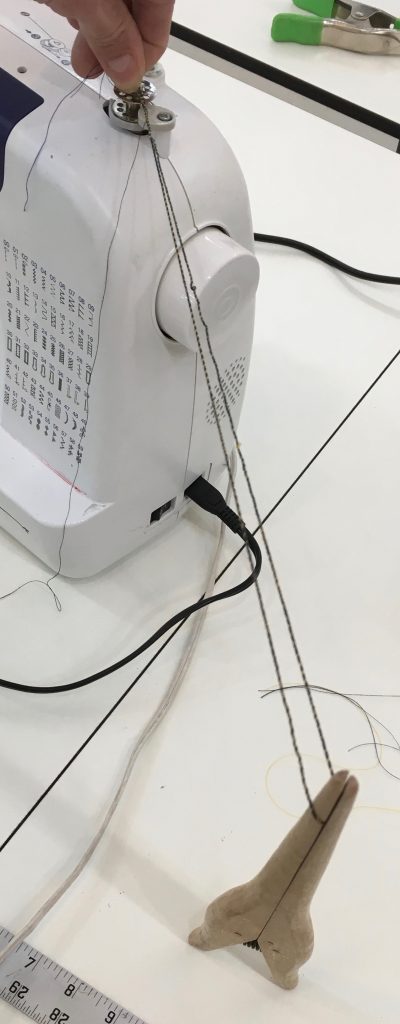
Match the center, line up the two ends, and then work your way from the center fold of the spun thread back. It can be fun just to let it go and watch the thread magically turn into a cord, but it rarely works like that. If you don’t control the tension yourself, then you may end up with a tangled kinked mess.
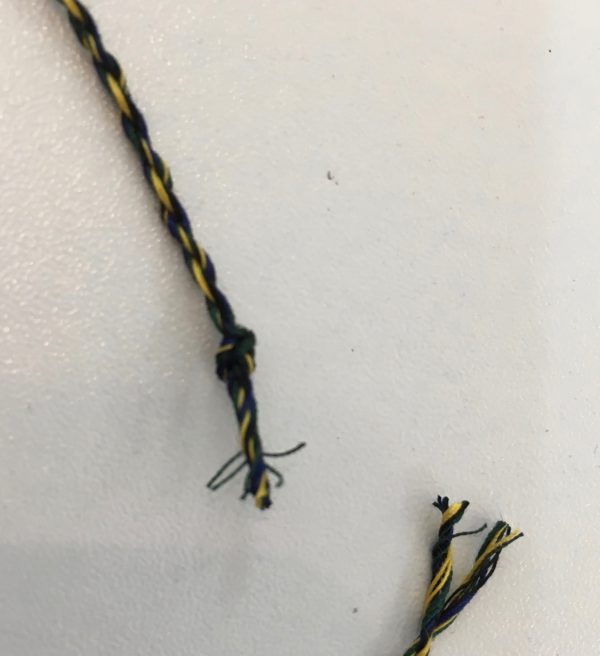
Twist as much as you want from here to balance it out, then tie off the end so that it doesn’t unravel.
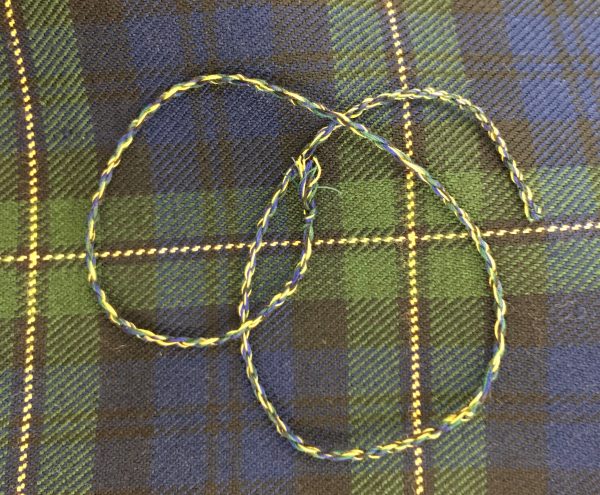
And that is about that! You can use this for making individual cords or making the individual strands of a tassel or anything that needs a finished twist. We’re happy to help you out if you stumble on this and need more direction, just let us know.
