Just a quick tip on handling the geometry of hem allowances on tapered pattern pieces…
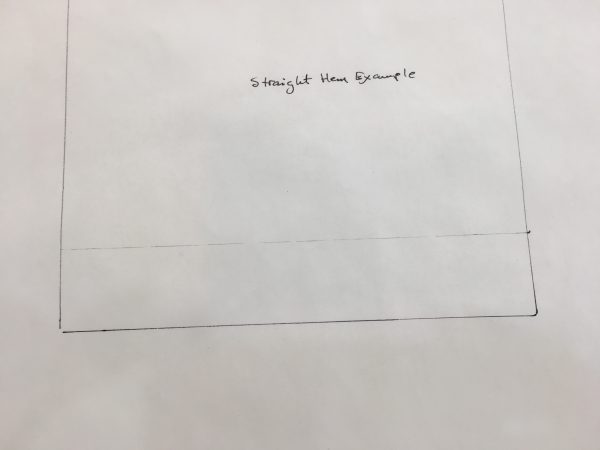
It is easy when you have drafted a straight pattern piece and just have to turn the hem up and hem it. Pattern pieces like this rarely pose a problem, either in drafting or construction.
But if you have drafted or altered a pattern piece that has a tapered hem e.g. at the bottom of a cuff or skirt, you have to think about it a little. If the taper goes out and the hem is flared, you can just ease it in when you set the hem. If it is tapered in – like a fitted skirt or most sleeves, you have to do some geometry.
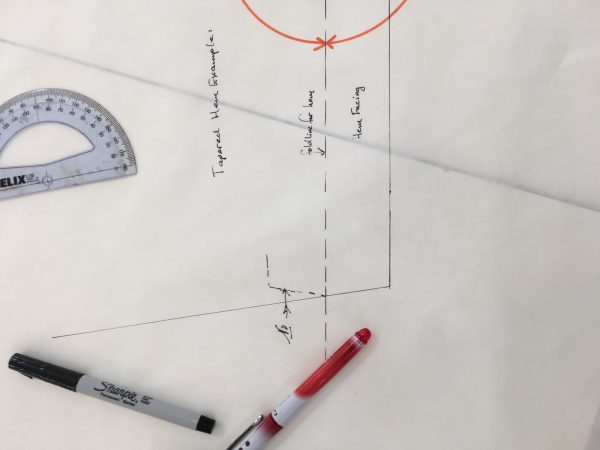
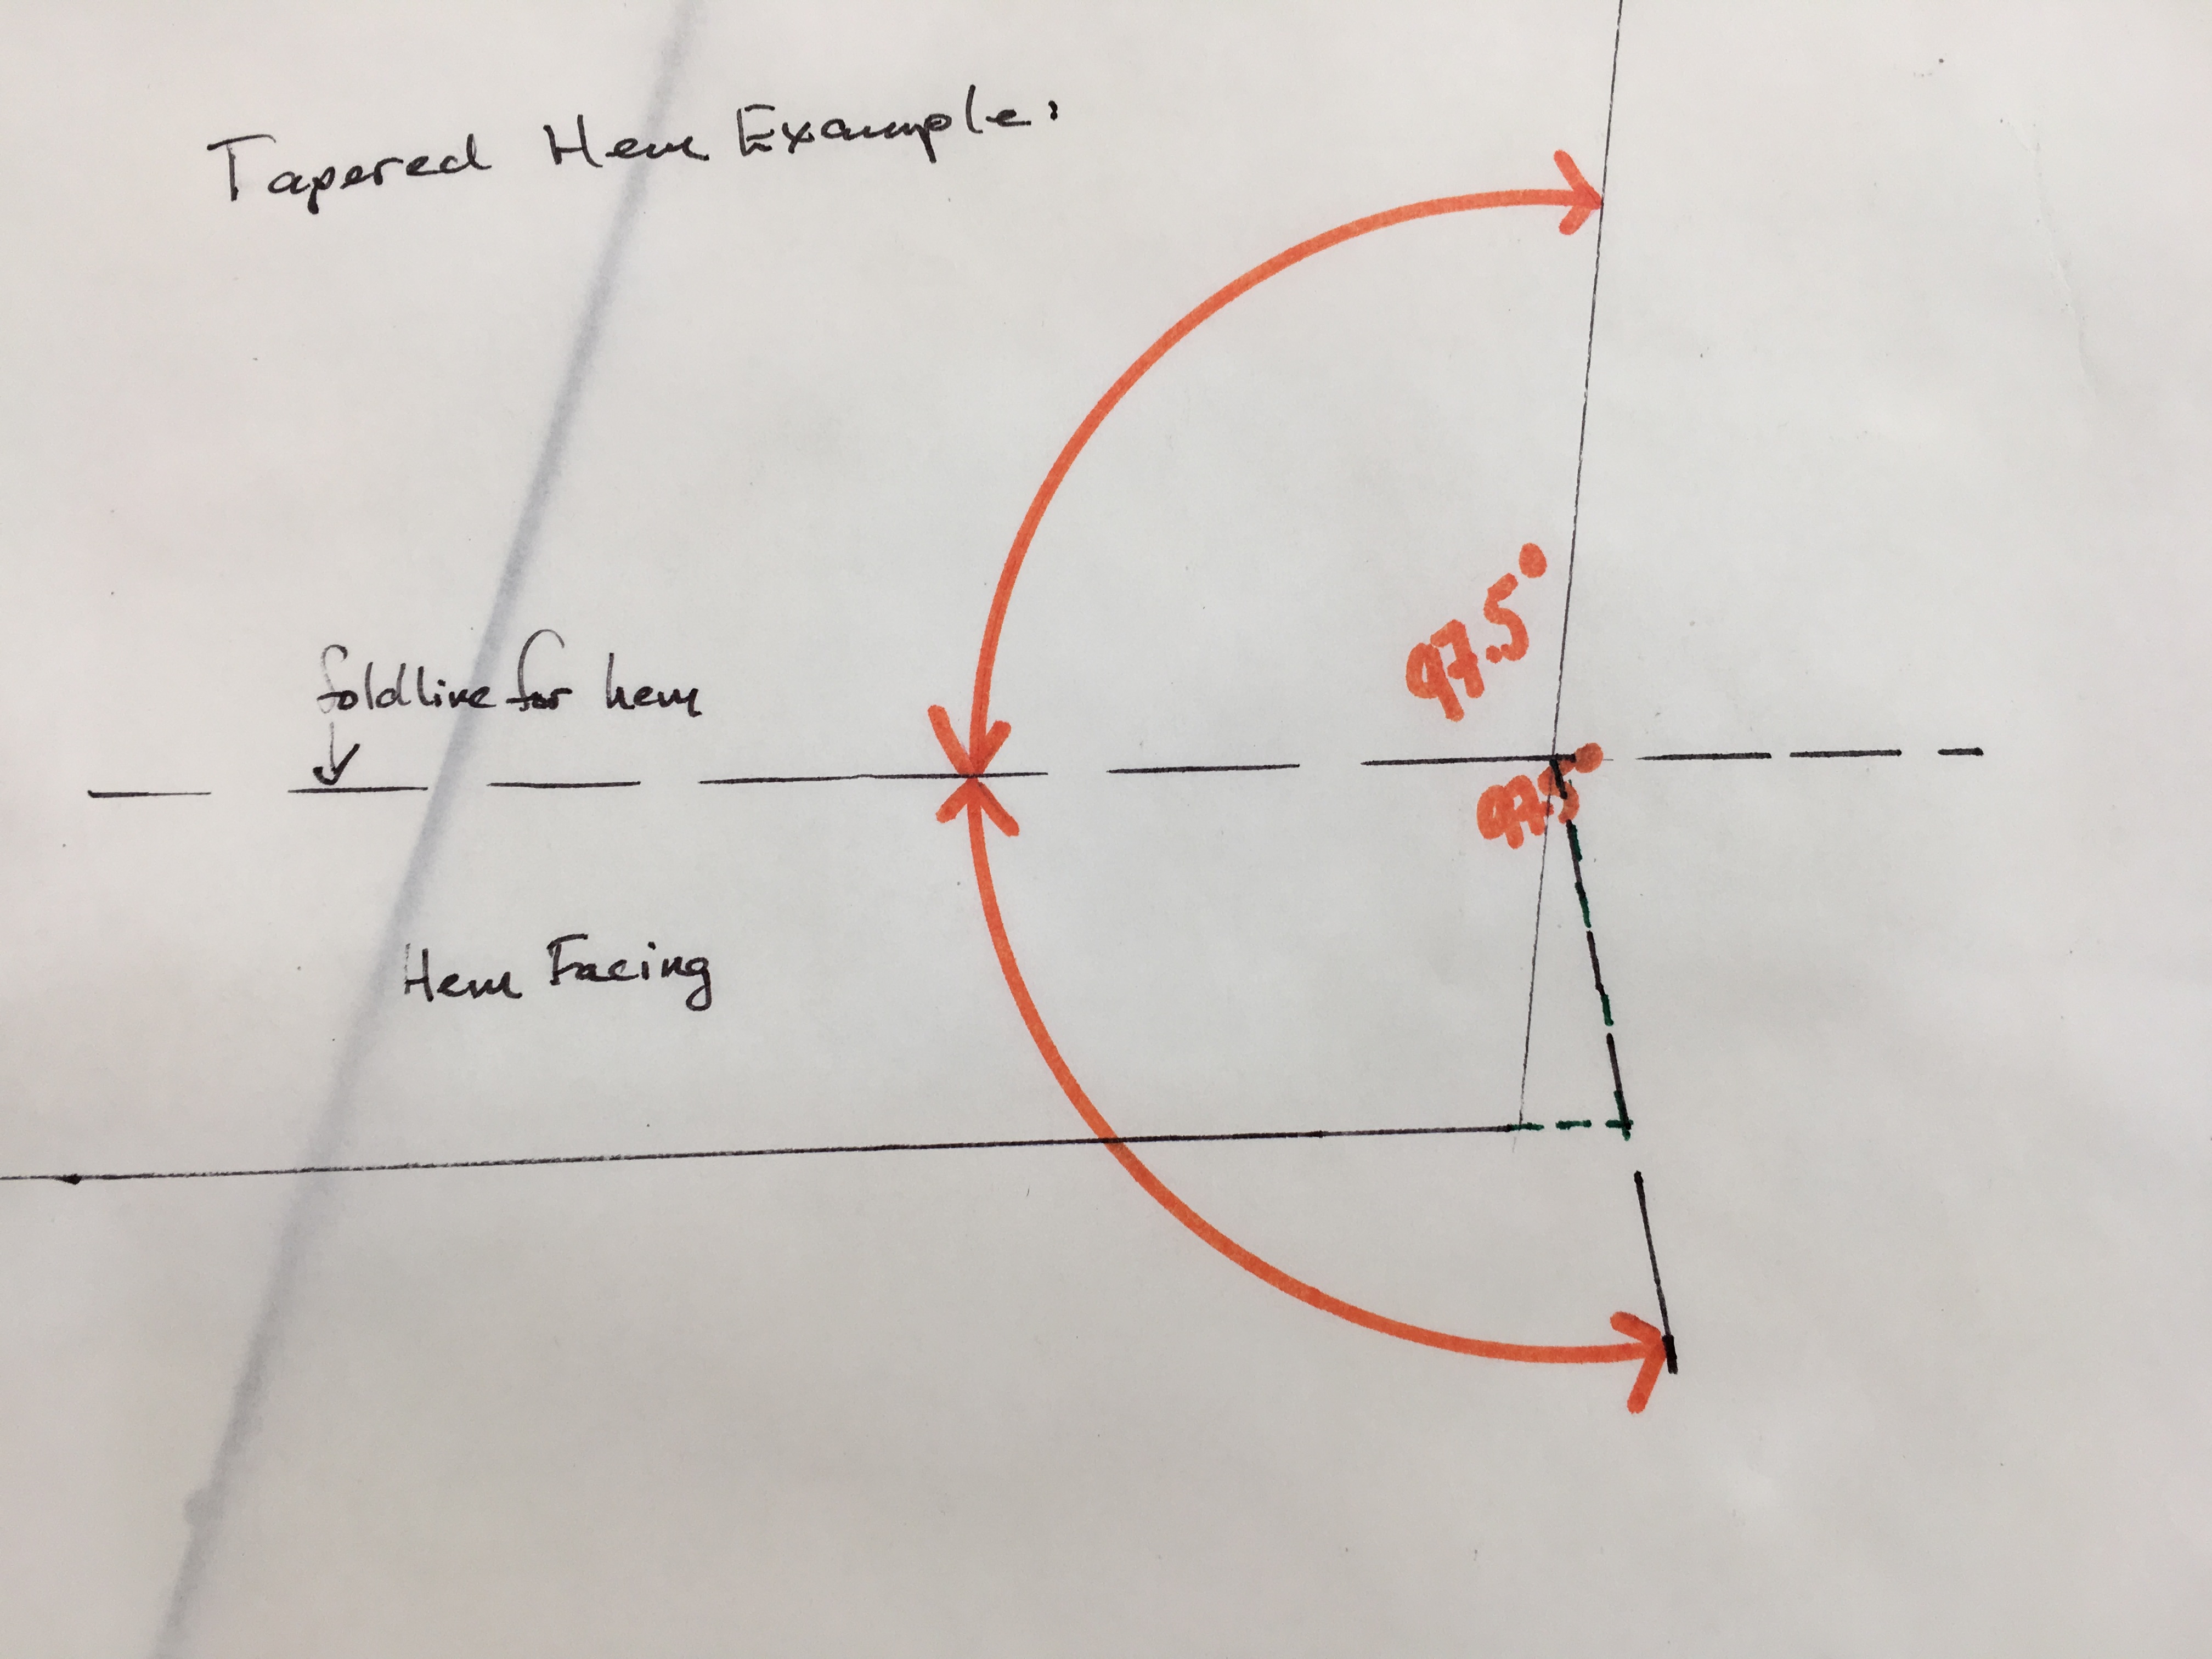
So here is the deal: You want to continue the line of the finished hem across, extending it a couple of inches.
Then you make sure that the measurement of the angle is the same from the side to the hem as it is from the hem to the raw edge of the piece. It will look like this:
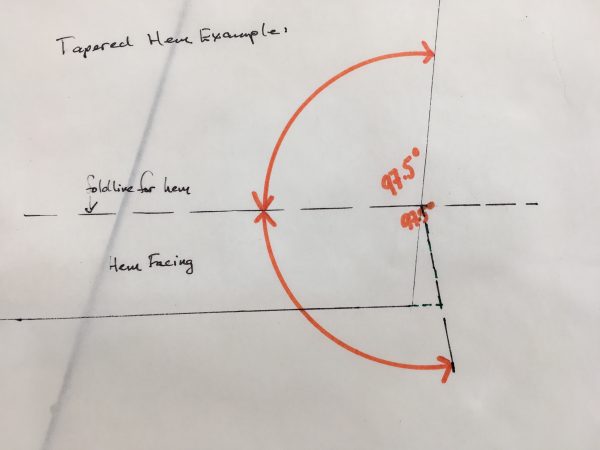
You can see that the measurement of the angle is the same from the finished hem to the upper line as it is from the finished hem line to the lower line. This is going to keep you from having awkward joins in your pieces and much, much cleaner hems.
Let us know if you are working on something and need help or advice, we’re glad to clarify.