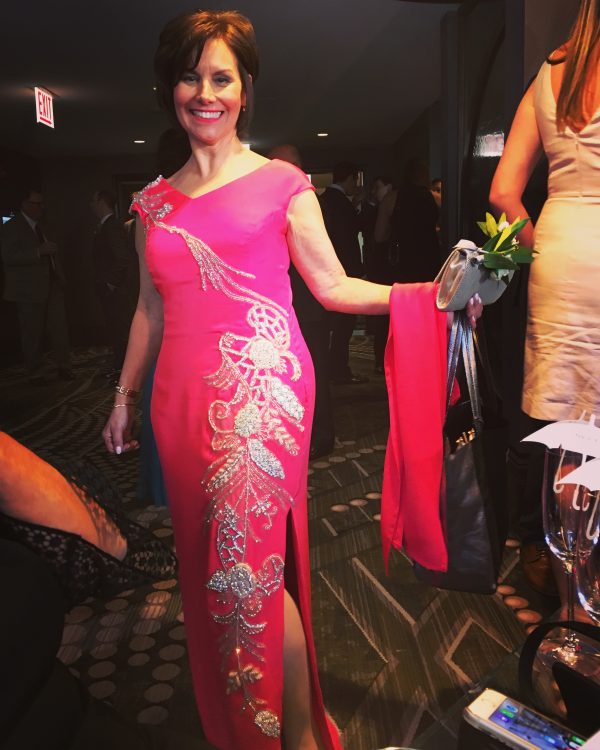
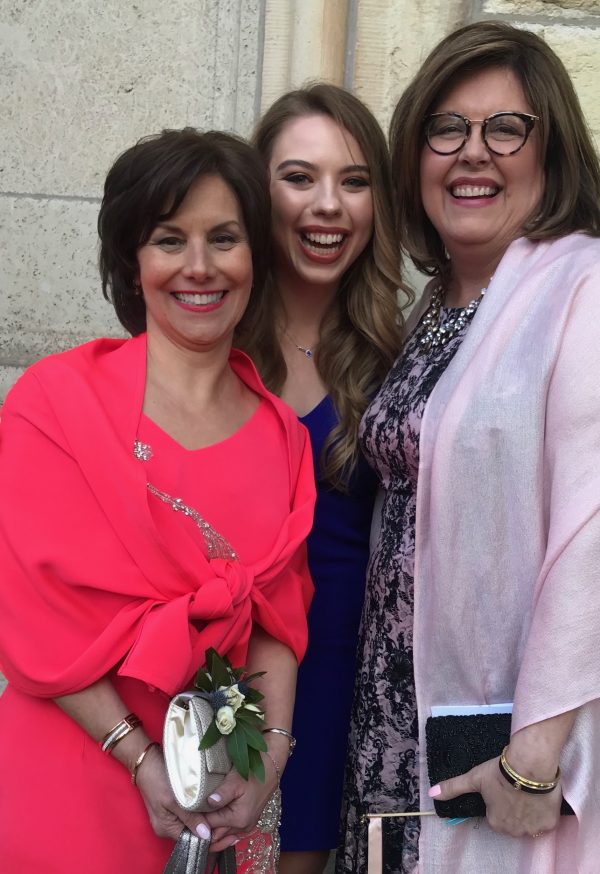
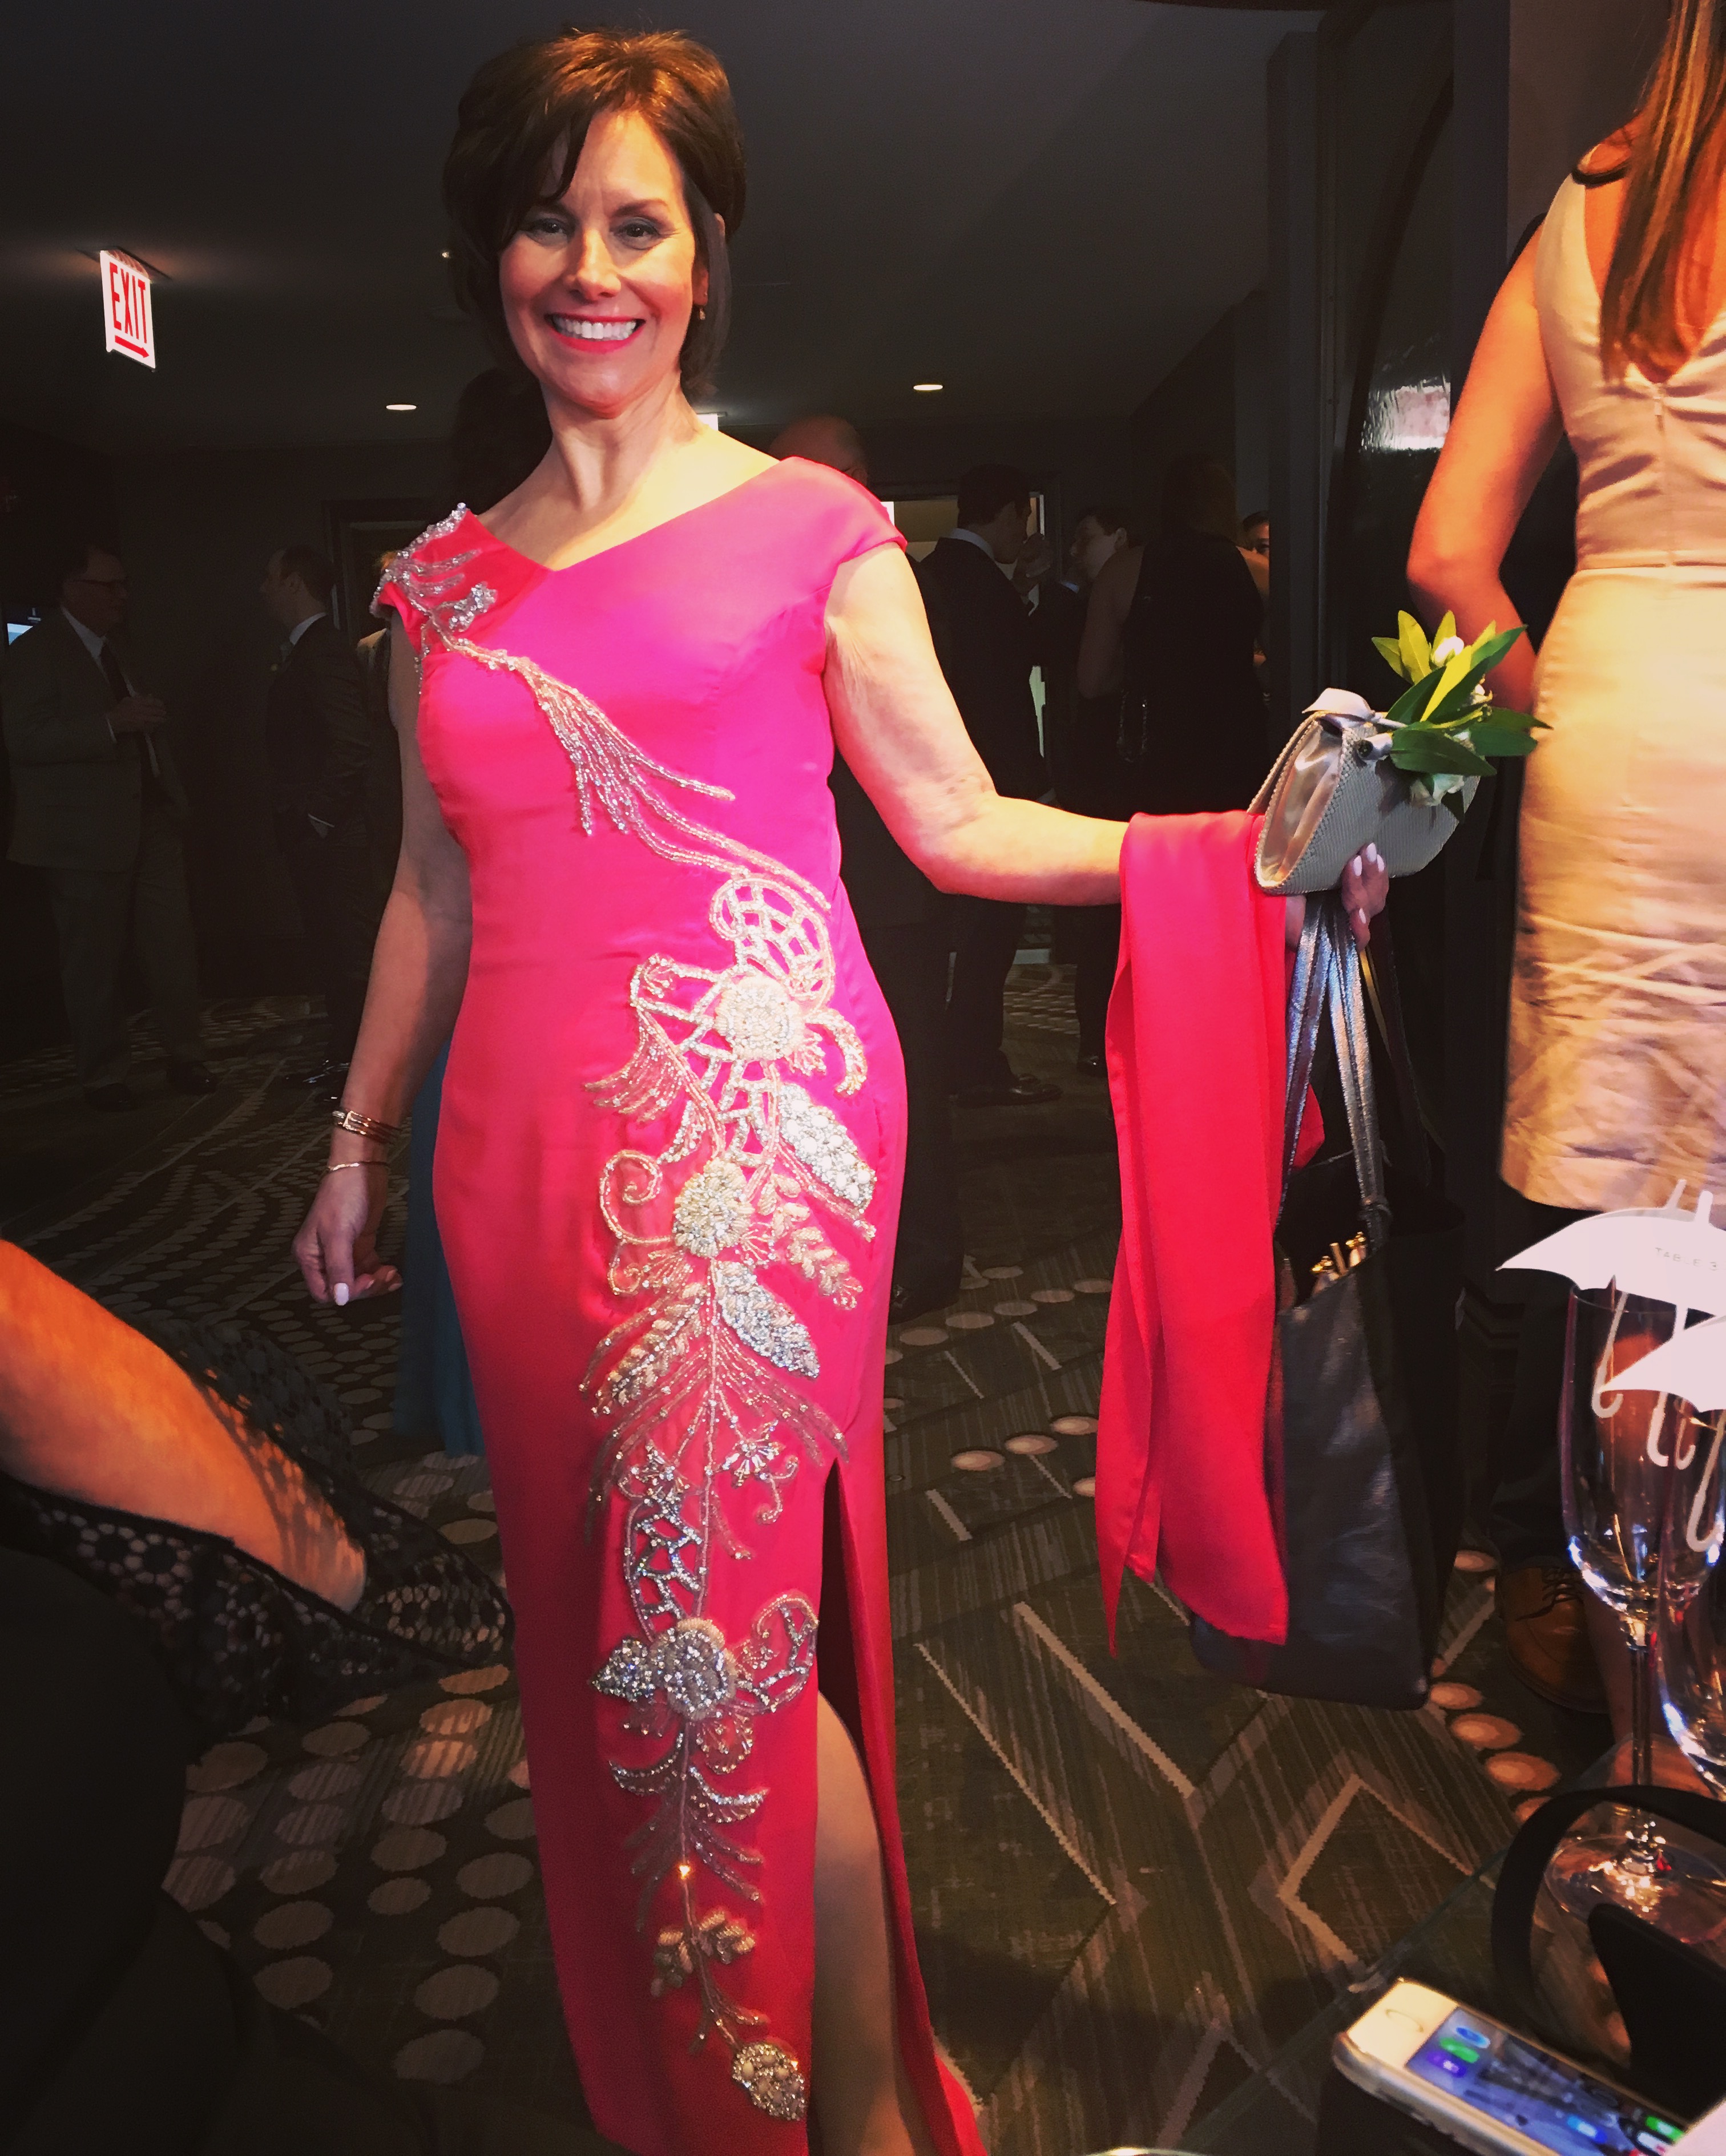
Susan wrote to us back in November about working on a beaded evening dress for her son’s wedding. She had been working in Manhattan and was going to the Esaie Couture Design School (shout out to Wanda and Daniel of whom she spoke really highly!) to round out some projects. But she needed some detailed sewing instruction in Chicago and showed up to the workroom with a pile of fabric, an old bridal pattern, hope, and the great head-start they gave her. Let’s see how all this worked out.
We wrote about how to handle scheduling projects like this here: Tip: Scheduling Projects to Avoid Stress & Bother
We started off with Butterick #4823, redrafting the back and neckline for something more angular. We didn’t want to have to deal with a lot of seaming and piecing with the embellishments we were going to do, so 4823 worked perfectly – it has long vertical darts that start at the armhole. This gives it shape without interrupting the line of the skirt with princess seams. If you have a lot of structural seams that interrupt the embellishments, you can easily get pulls and tension defects as the weight of the decoration bears down. You can work them out on the dress form, but the cleaner you start off, the easier the process is.

Once we had the shape right – it took us three total fittings to get the neckline and armholes where she wanted them – we got into the real work of building it out. She had a vision of asymmetry for the front to balance the visual weight of the beading and rhinestones, and wanted something that wasn’t quite a cap sleeve but wasn’t entirely sleeveless.
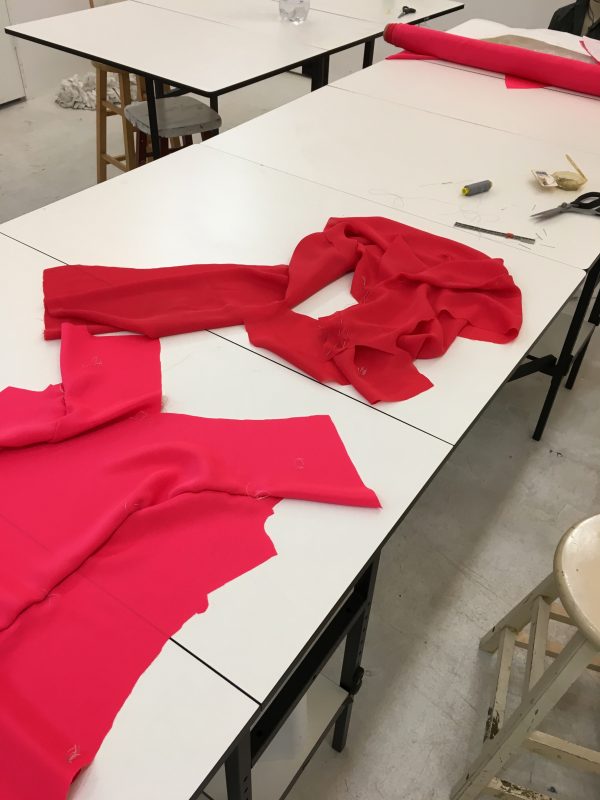
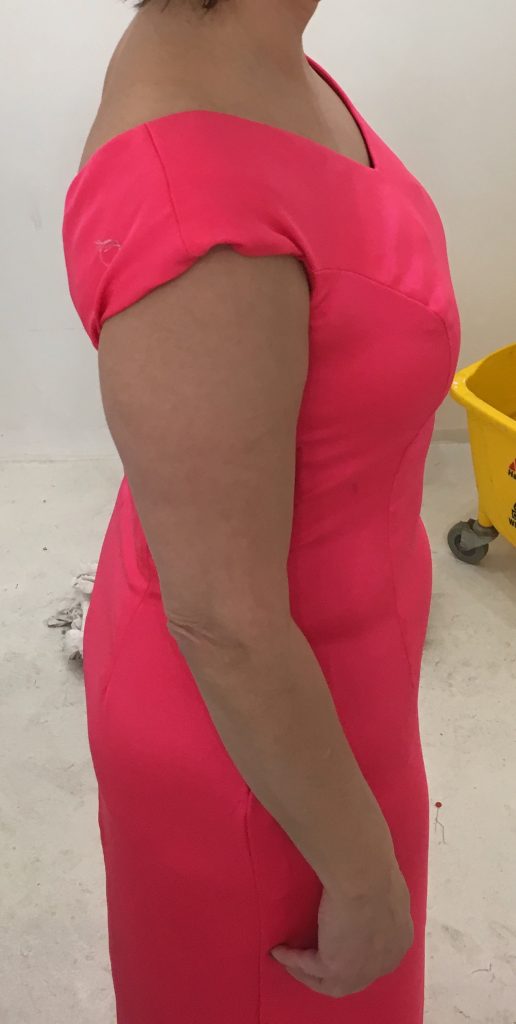
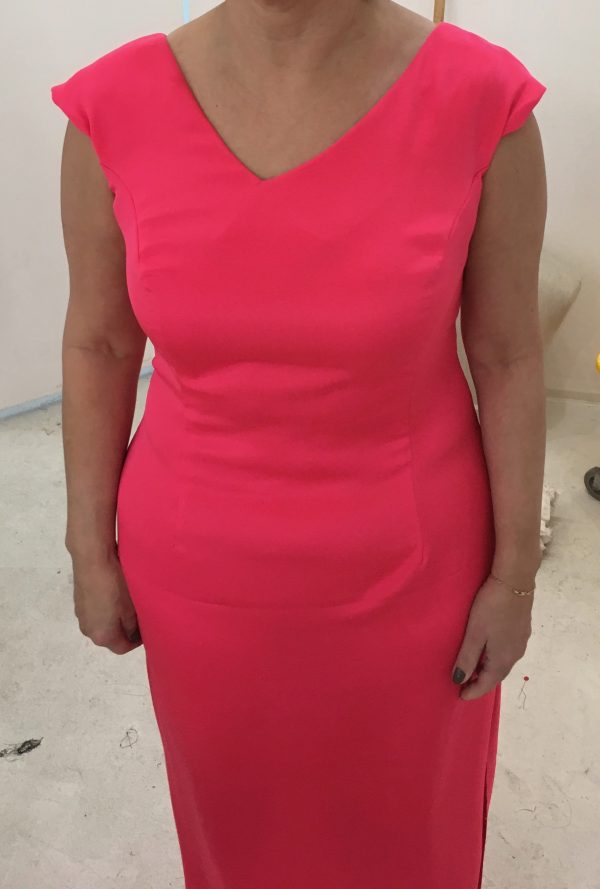
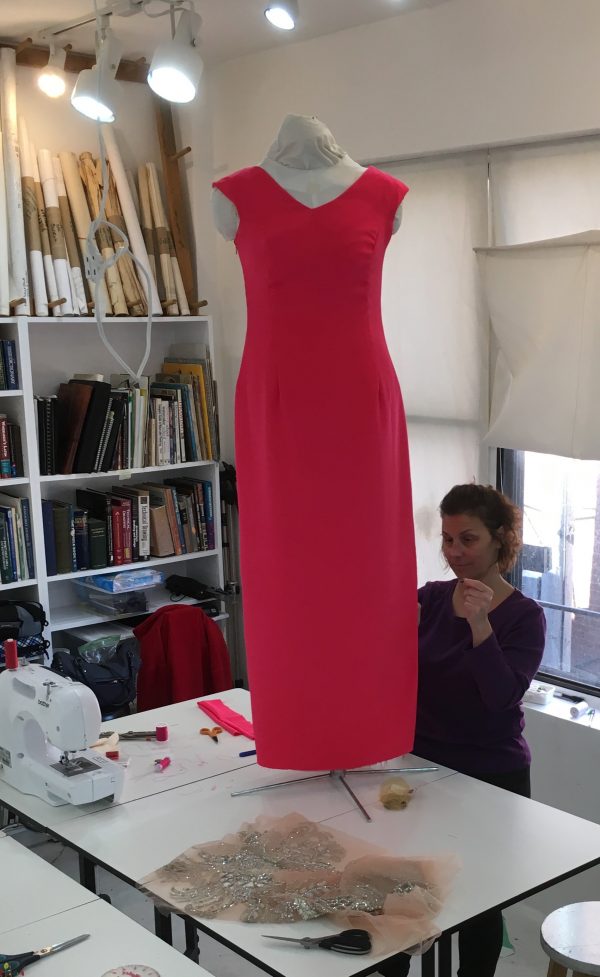
When she finished with the initial shape and got the fit right, it was time for embellishment and working the layout. She bought the panel from Mood fabrics at the same time she bought the fabrics, so she knew the balance and colors were right, she just needed to decide about layout and proportion.
When you are setting things like this, it is good to understand that once they are on it makes the garment really difficult to alter and mess with. It helps, if you have the time, to step back from the work and let the shape grow on you if you don’t have a strong vision about placement. In this case, the panel sat on the dress and dress form over the course of a week or two while she decided what to keep, what to take away, and where things should fall.
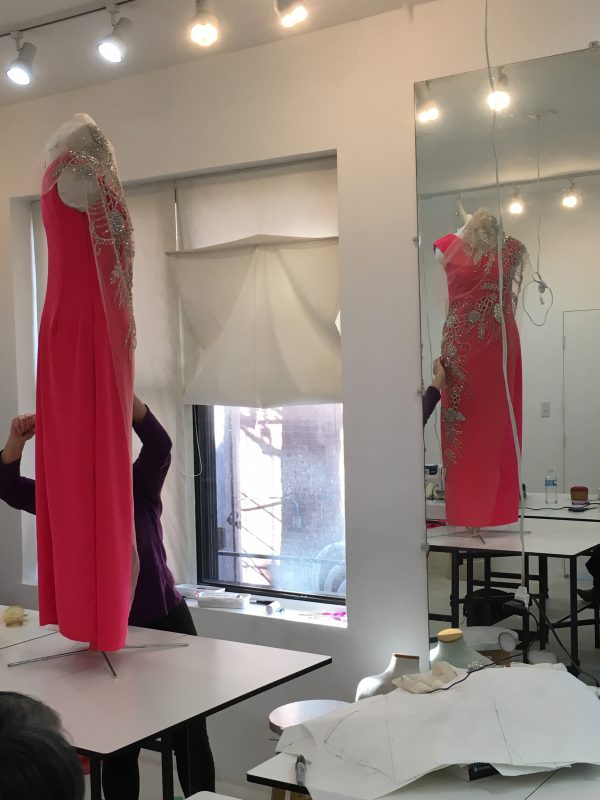
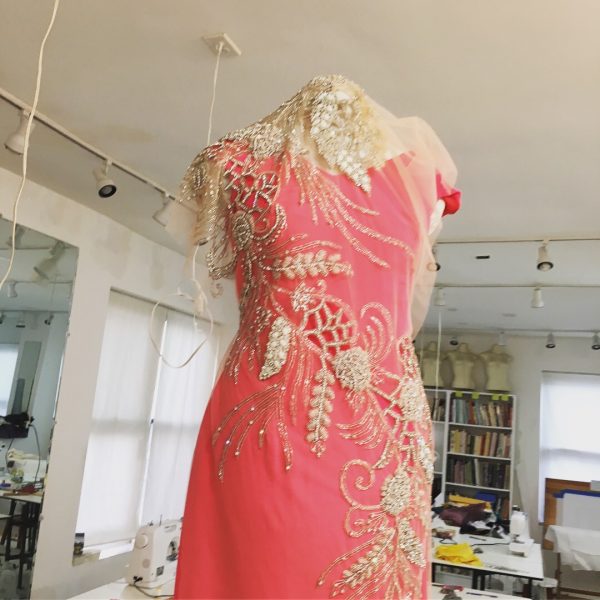
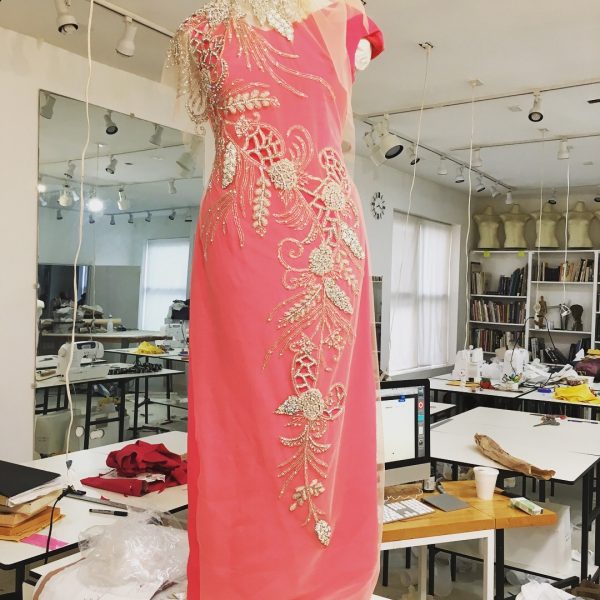
Once she decided to get down to business, she sent the beading-in-progress out in text messages and generated this little post right here: Wait Until They See the Hat
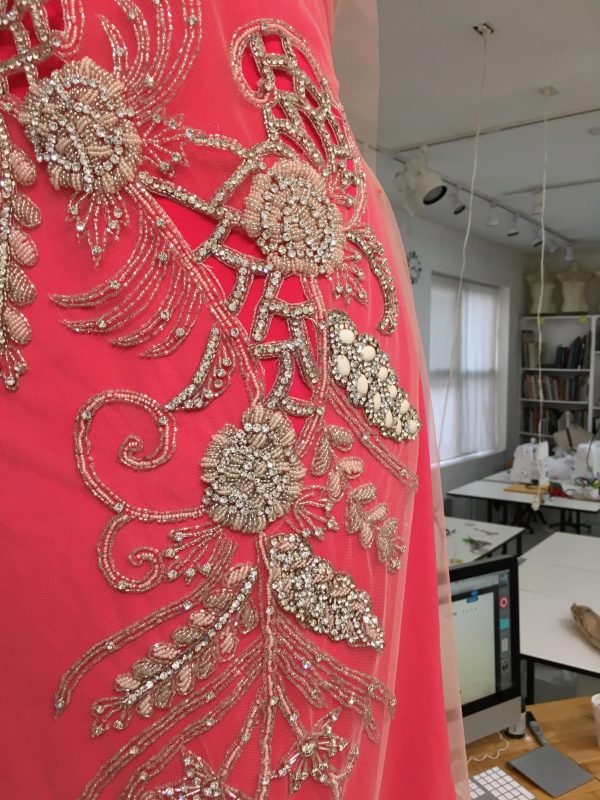
In this case, she decided she wanted to remove most of the larger details through the front and really pare down the details in the torso, letting her right shoulder and lower left front take the pattern with only a series of seed beads bringing them together.
We hit the deadline perfectly with two weeks to spare, so after hemming we got this little guy in our inbox:
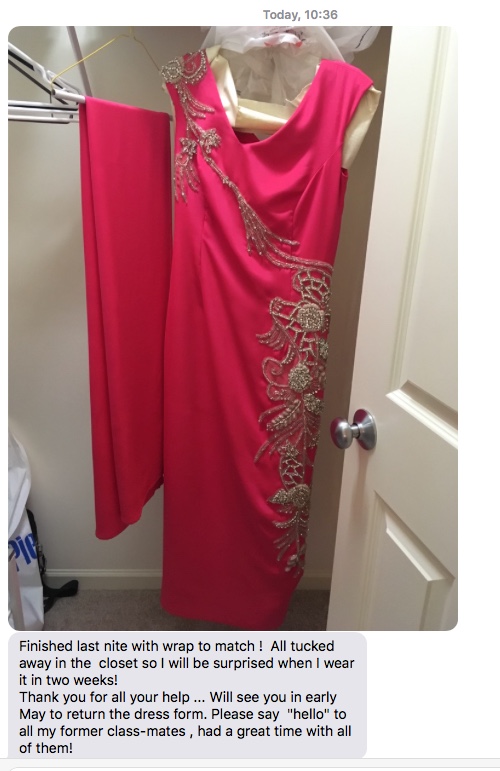
And here’s the final receipts before we sign off, folks!
