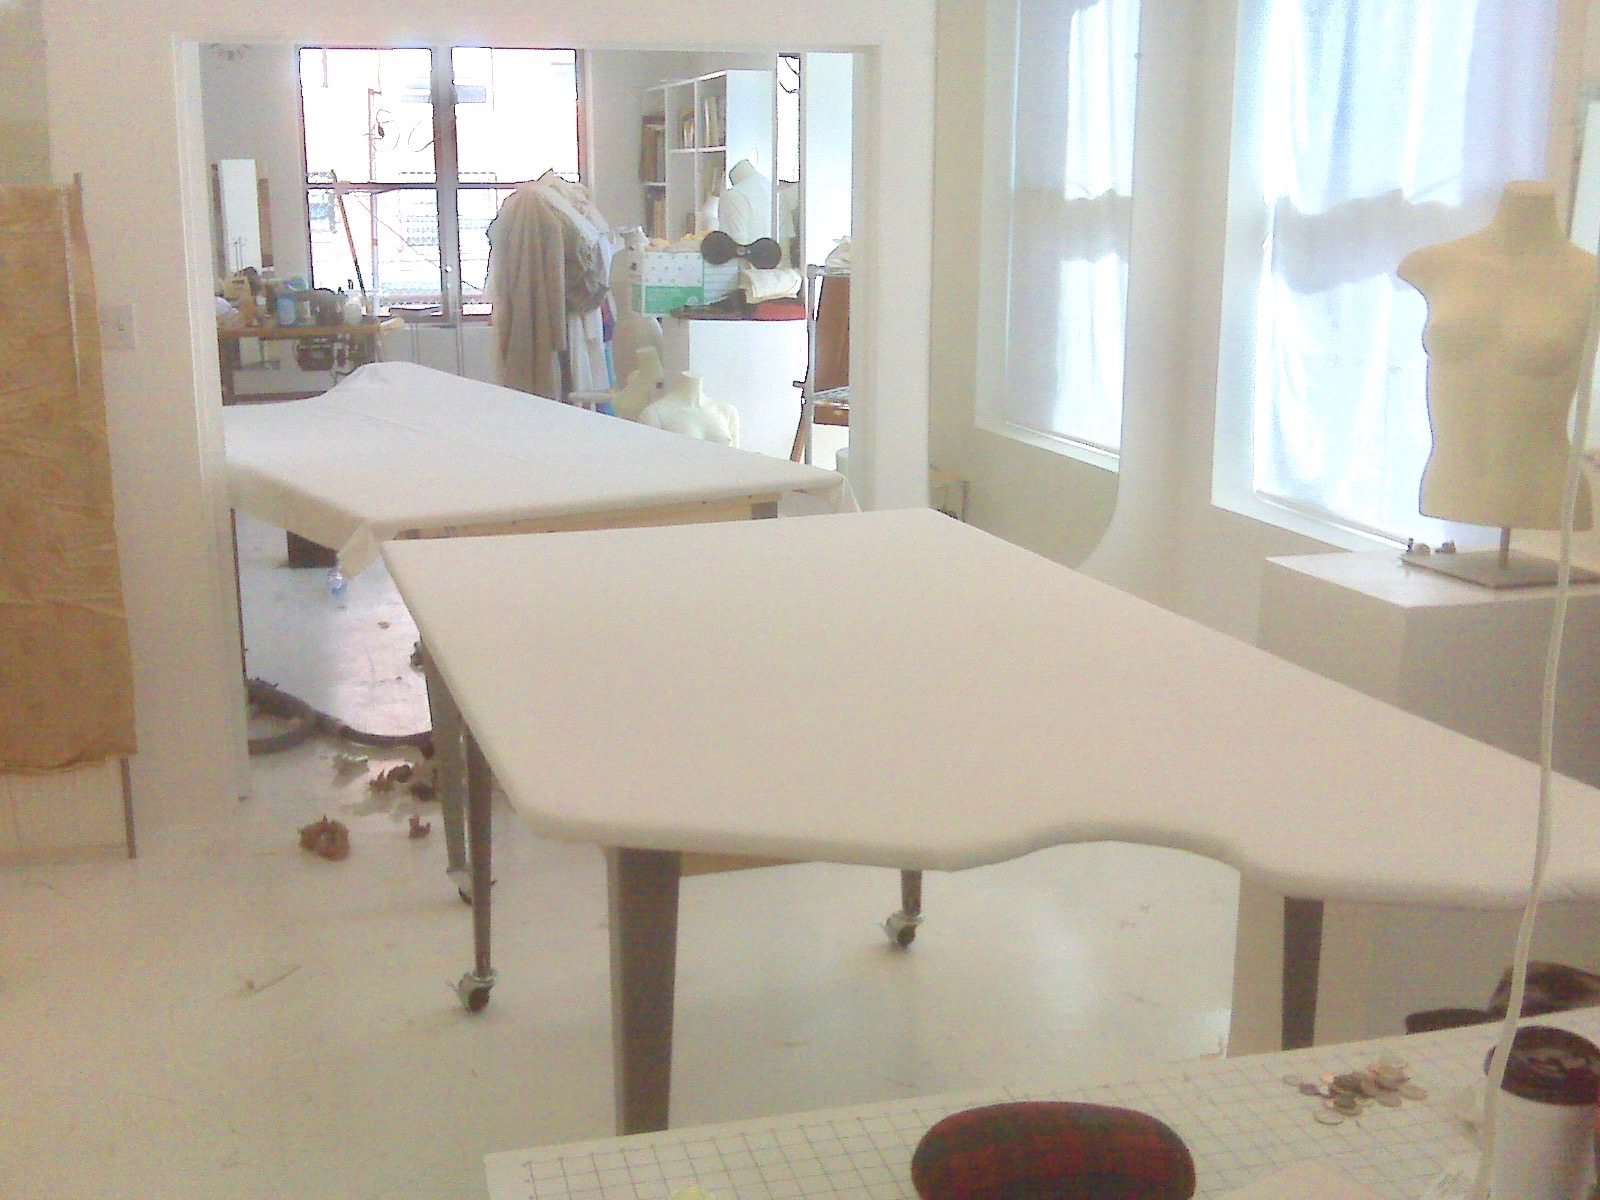
As we are in our off season and getting ready for the next round of classes in April, we thought we’d share something while we are deconstructed and re-setting things.
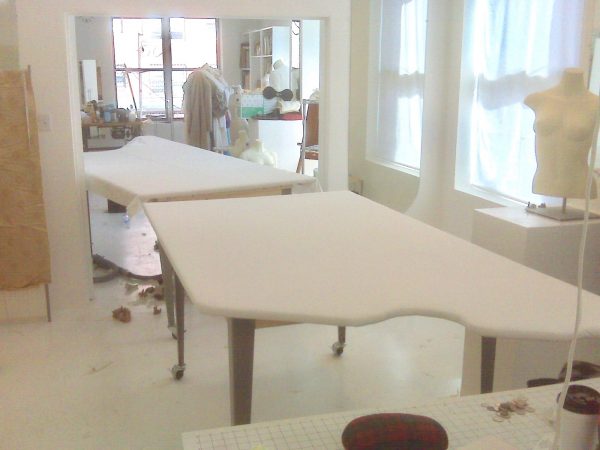
The place is a mess, so just look at the tables!
People love our ironing tables in the back of both workrooms. They are large 4 x 8 foot tables with shaped extensions that work well for any sewing project or pressing detail you could think of. We get asked a lot about how they are made, so we thought we’d put this together.

We started off initially with regular cutting tables from JoAnn Fabrics covered with one of the gridded teflon covers you can buy in the notions section. This worked well enough for a time, but with all the use they get, the teflon became a little worn and the tables got wobbly, so we decided to build something out and up our game a little.
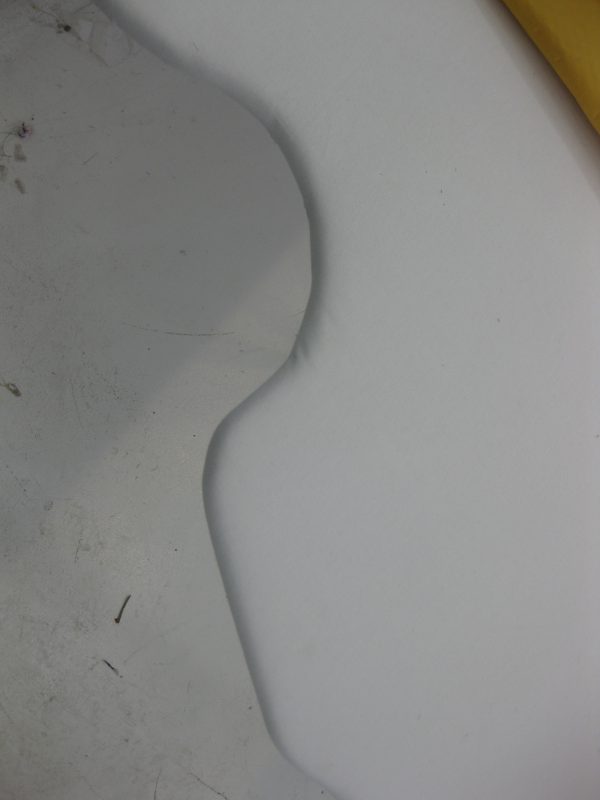
We started off with two 4 x 8 foot pieces of 3/4″ builder’s grade plywood. We knew that we wanted one of the tables to be smaller than the other, so we started with that. We drew on the curves for the edge and then cut it off with a jigsaw. Once we had all of the curves right, we slightly chamfered the upper edge of the lip so that there wouldn’t be a hard edge.
We then took the section we had just cut off and joined it to the end of the remaining piece so that it projected out. We knew that we wanted this second table to have a sleeve board extension and more intricate curves, so after we picked the two sections together we played around with exactly how severe to make the curves. We then cut it out with a jigsaw and chamfered the edges in the same way.
With 1×4 pine lumber we built the framing*. It is simple – a rectangular frame with cross bracing to keep the top from having too much bounce. Once the tops were cut and the frame was screwed together and attached to the underside of the tops, we were ready to install the legs.
These legs came from the base of an old formica launderette’s table. We wanted something industrial and commercial strength without the bulk of a set of industrial cutting-table legs. They are attached at the corners of the frame with bolts through the pine from the inside. We bought locking industrial casters for the feet so that it can be rolled around and the workspace can be reconfigured easily.
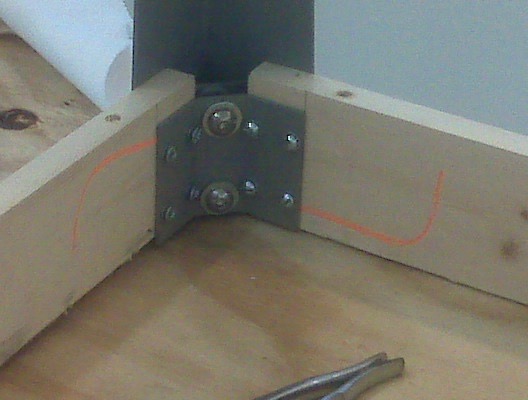

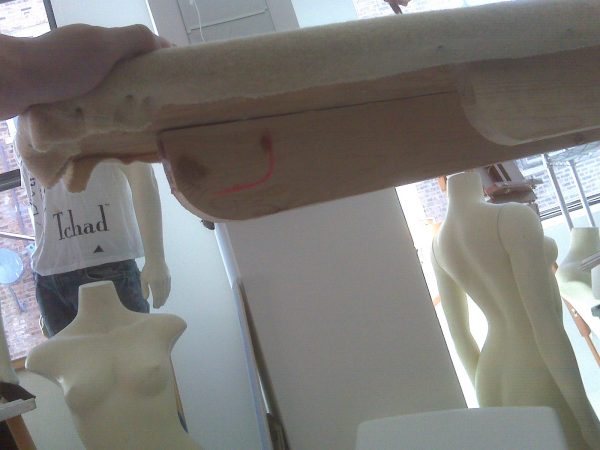
Once the table frame was built and the legs were attached, the fun began.
This is where this post will get useful for most people.
We left the plywood raw with no finish so the wood can flex and the finish layer doesn’t fuse to the upper layers or migrate when people are ironing. We thought about putting a sealer or primer on it, but the image of silk dresses ruined by heated finish working its way up through the fibers was too scary. If the wooden base warps or flexes from the heat and moisture, we’ll deal with it then. The tables have been holding steady for a few seasons now, so we’re still good so far.
The under layers are heavy-weight wool blankets we picked up from the thrift store. The nice thing is that they’ve been abraded, shrunken, and used already, so you don’t have to spend money to both buy new yardage and then do it yourself.
These are similar to old army blankets and provide a dense yet flexible base. They’re much better than foam or cotton batting, as they don’t compact and degrade. They stay smooth and stable. Since we’ve built these we’ve replace the covers multiple times, but have never had to pull the tacks and replace the padding. Approach this like upholstery and you will have a long-lived table.
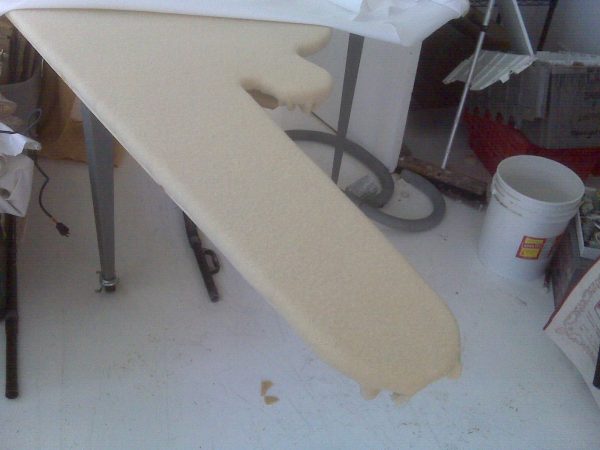
Before we tacked them down to the underside, we washed and dried them, making sure they were still hot and ever so slightly damp as we stretched them over the top. Working in opposite directions with an upholstery stretcher, we were able to balance out the tautness so that the surface was perfectly smooth.
On the table with the sleeveboard extension, we needed to join two blankets together. We did this by stretching the first one and getting it in place and then stretching the other one, trimming it and stitching them together in a butt seam with a ladder stitch. If you try to use a lapped seam or a regular seam, you are going to end up with a ridge. You want this flat.
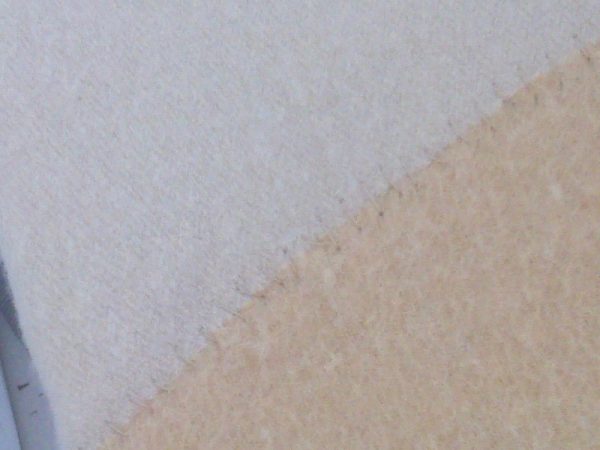
The padding is stretched and pieced, then we use white denim that has been washed in hot water and laid on damp and hot from the dryer. When we attach it, we use the wrong side of the fabric up because it is smoother and flatter; you don’t have the texture of the twill interfering with delicate fabrics and abrading or embossing your work. This has worked really well.
The shaped ends can be hard to stretch and tack the denim down to, so we use an old upholster’s trick and create “handles” that are sewn down by machine just outside of what will be the edge of the table’s curve. These help pull and ease the fabric so that the edge is smooth for that shoulder seam you are trying to get just right or the wool you are trying to wrestle and beat into a cloche.
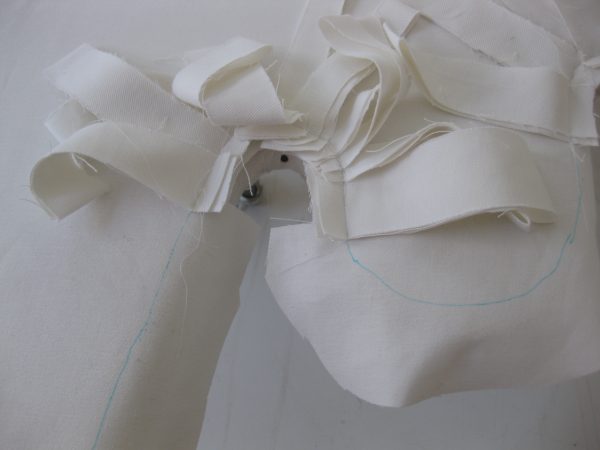

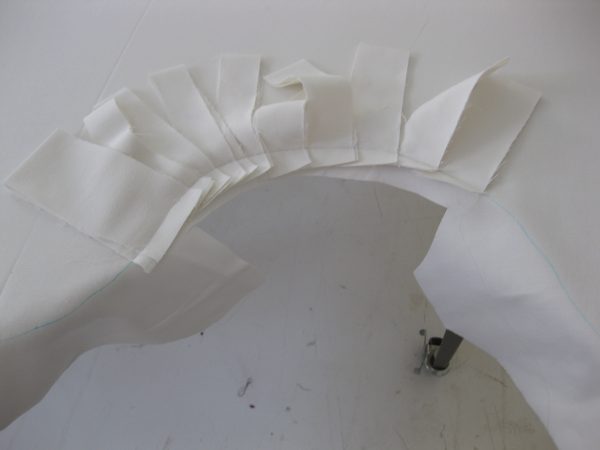
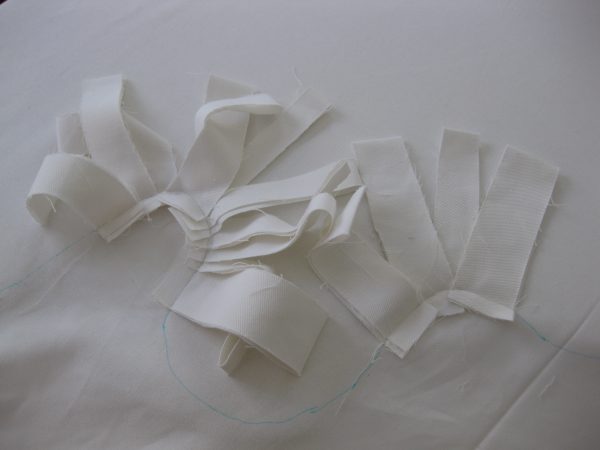

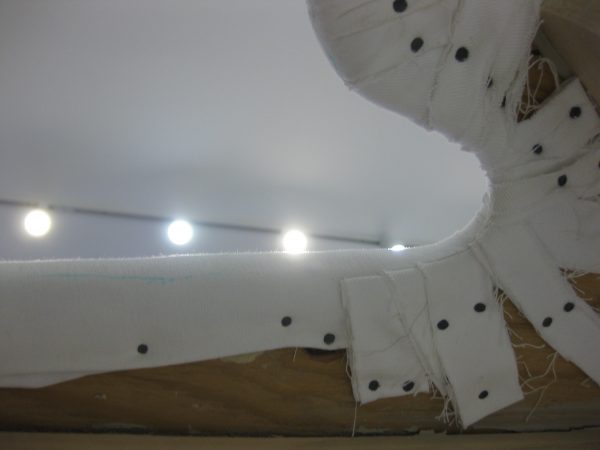
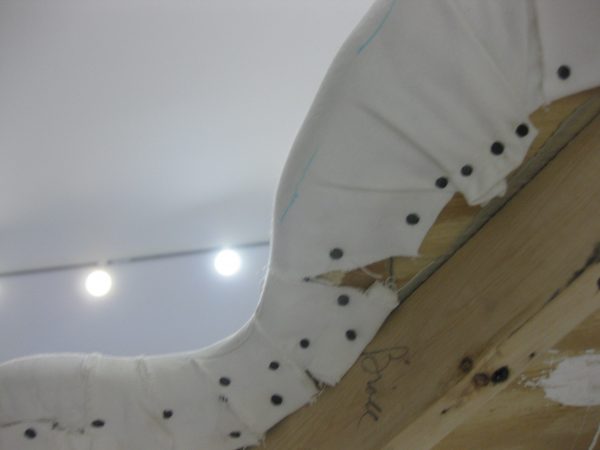
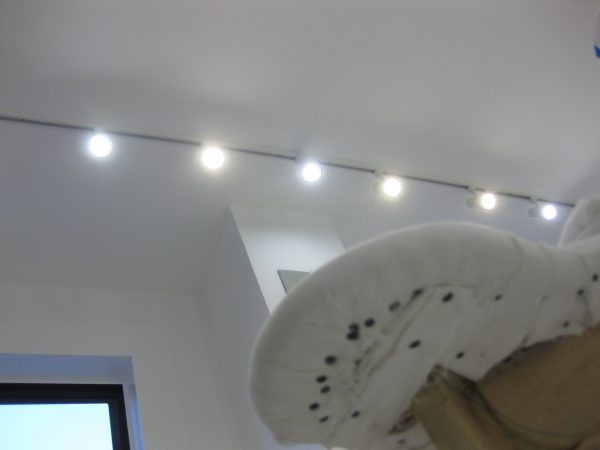
We use cotton denim that is the cheapest we can find because we replace our covers once or twice a year, but that’s because they get so much abuse. If you make one of these yourself, it should last longer than that unless you are a sewing maniac.
And that’s about it. If you are in Chicago and want some help with making one, let us know. Tchad is happy to show you in more details.
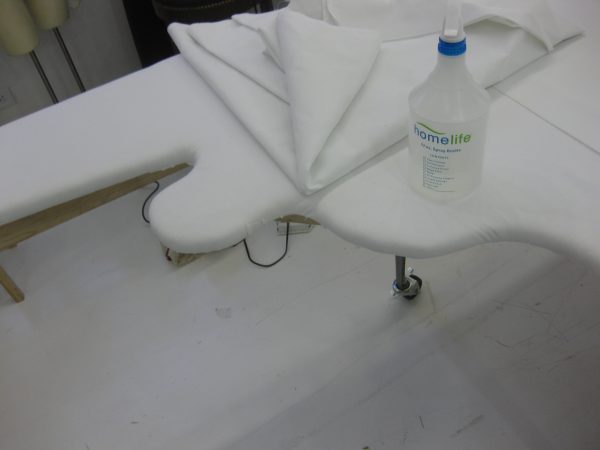


*There is only one thing we would change about this project:
Even though it is heavier and more expensive, we would have gone for oak (oak species doesn’t matter) for strength and stability. The corners of the frames have to be adjusted once or twice a year to account for the compression of the pine.
